A Tale of Image Modeler and Two Blenders…
I didn’t get a lot done today because much of the time went into figuring out a workflow for photo-based 3D modeling.
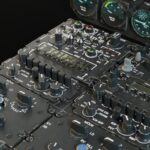
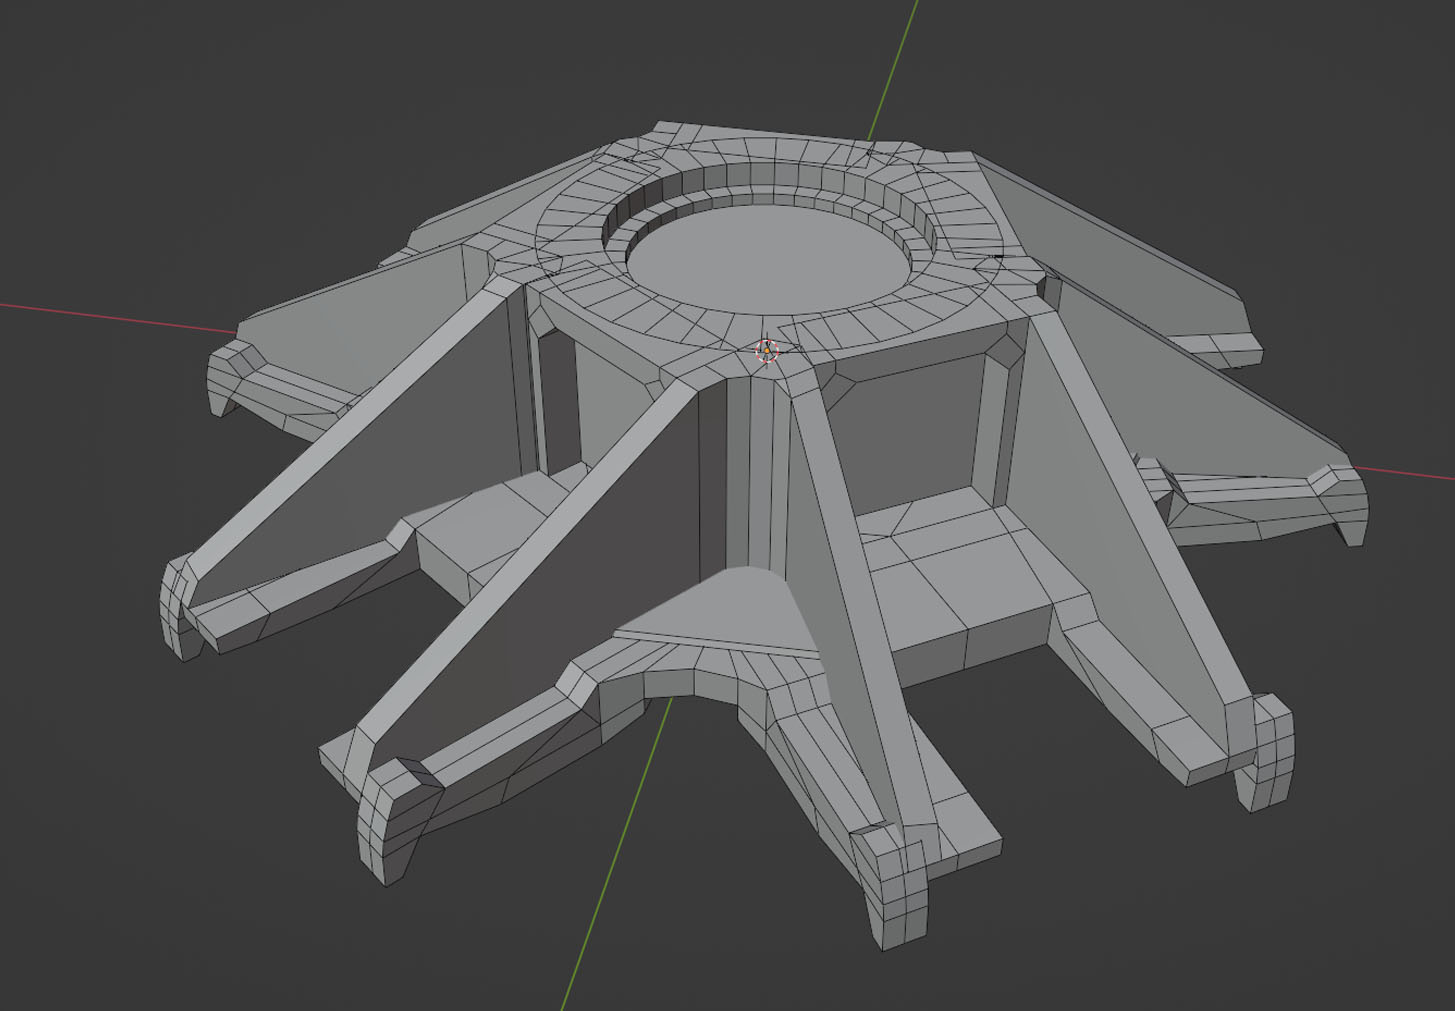
First, I finished the basic mesh (the blocking) of the main rotor hub component I started working on in the previous post. At this stage I’m only doing the blocking — I’m barely merging anything yet so I can still edit the model later when I start adding the rest of the rotor elements. I even created the rounded edges as separate meshes made from simple cylinders.


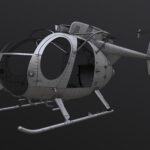
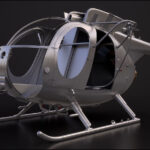
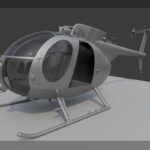
Next, I decided to test Image Modeler again. It turns out I was wrong last time — you can set up locators and cameras even using just three photos. I used some photos of the pitch housing from an MD 500 helicopter. They’re slightly different from what I actually need, but the core structure is basically the same.
After placing the locators in Image Modeler, you need to define the coordinate system, otherwise the scene will be oriented completely randomly. Although, even then, mine still ended up rotated anyway.
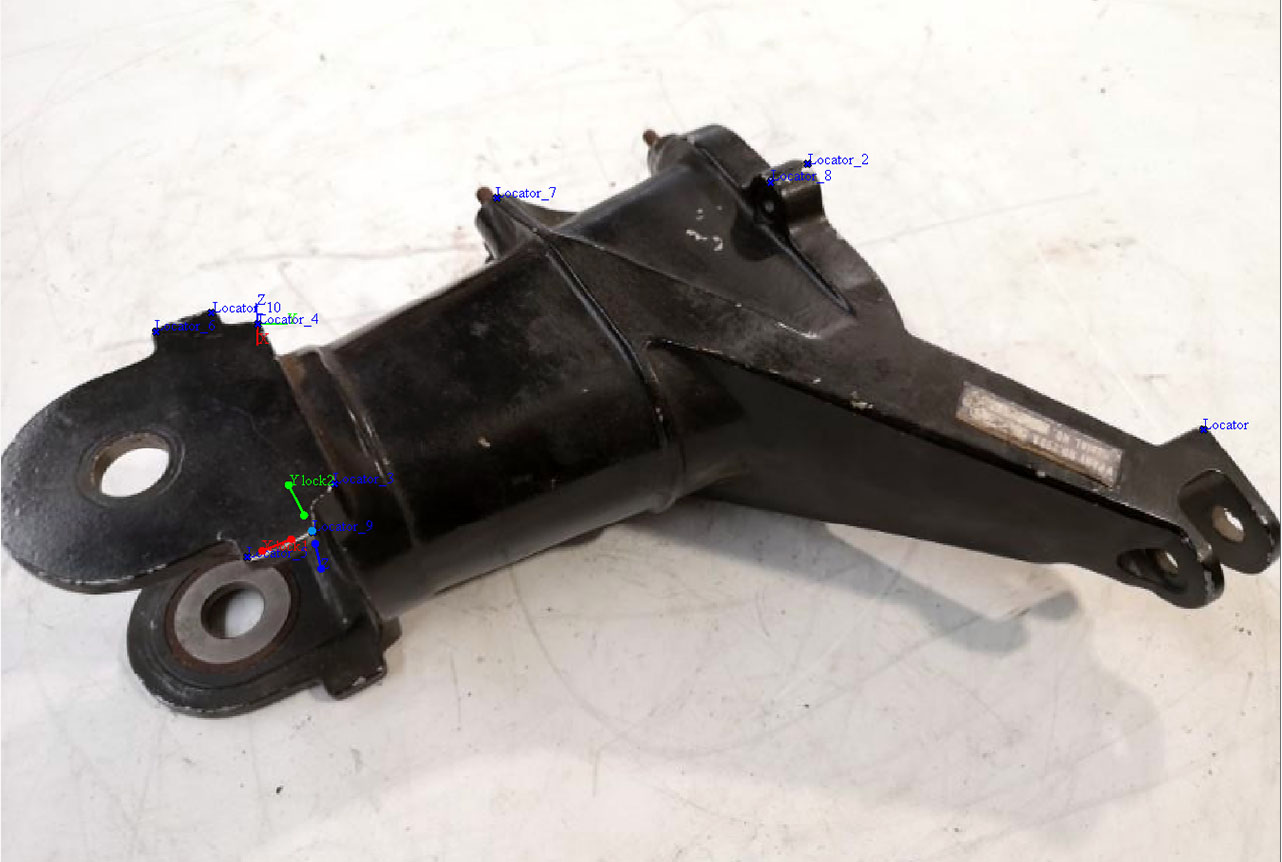
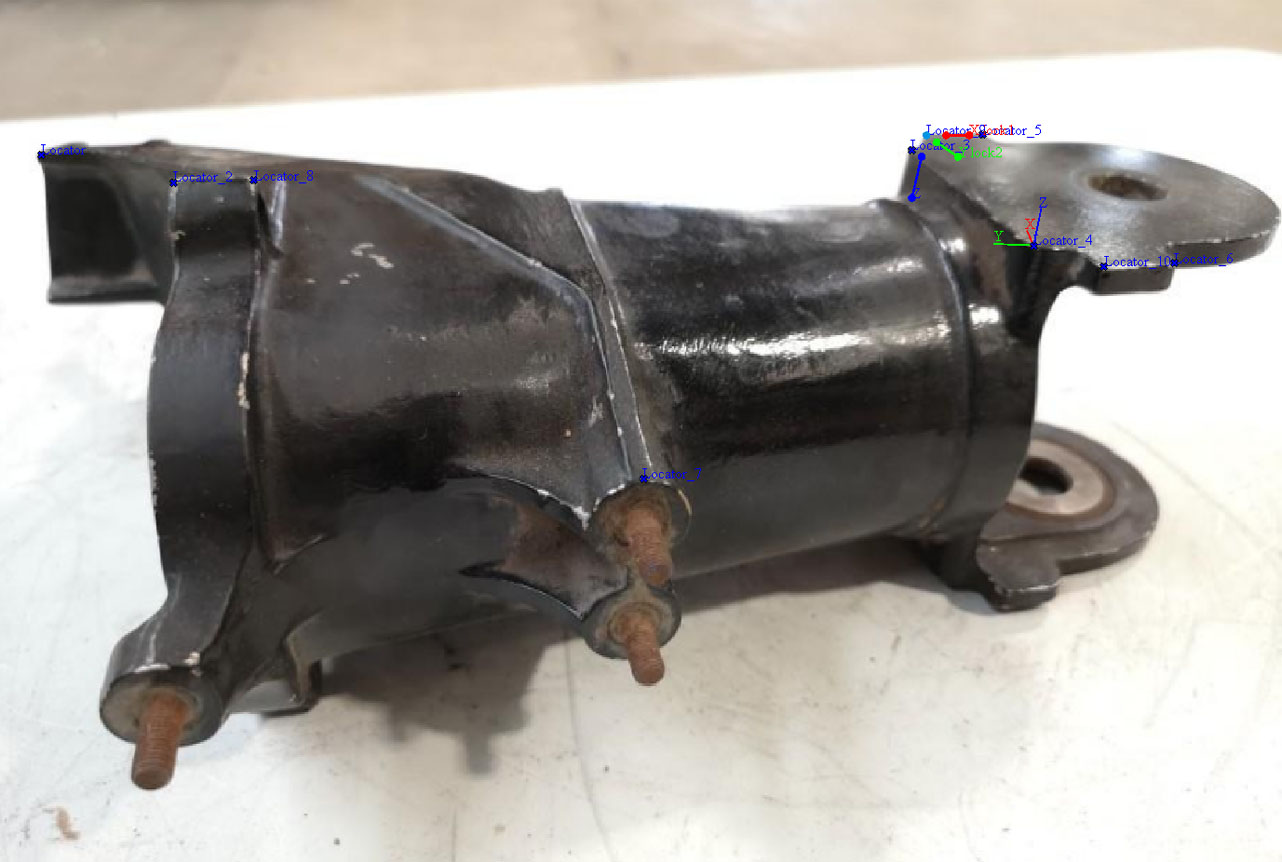
The most reliable export from Image Modeler is through Maya — it preserves both locators and cameras. But after Maya, the scene may also end up rotated by 90 degrees. I keep the slightly skewed coordinate system from Image Modeler as-is and quickly build a rough blockout of the main forms directly in this skewed orientation.

What matters here is this: Image Modeler can introduce errors such that a plane that is perfectly flat in real life ends up with vertices/locators at different heights — meaning the plane becomes warped. So once the blockout is ready, I rotate it into a properly aligned position and straighten all essential planes and lines that I know are definitely vertical or horizontal in reality.
Then I bring this mesh into Blender 3.5, recreate the locators (in the same positions as in Image Modeler), but now I place them not on the photos — instead, I place them on the blockout mesh. Using the addon in Blender 3.5, I generate cameras for several photos. There are still inaccuracies, but it’s workable. Here I can also add new photos that weren’t used in Image Modeler.


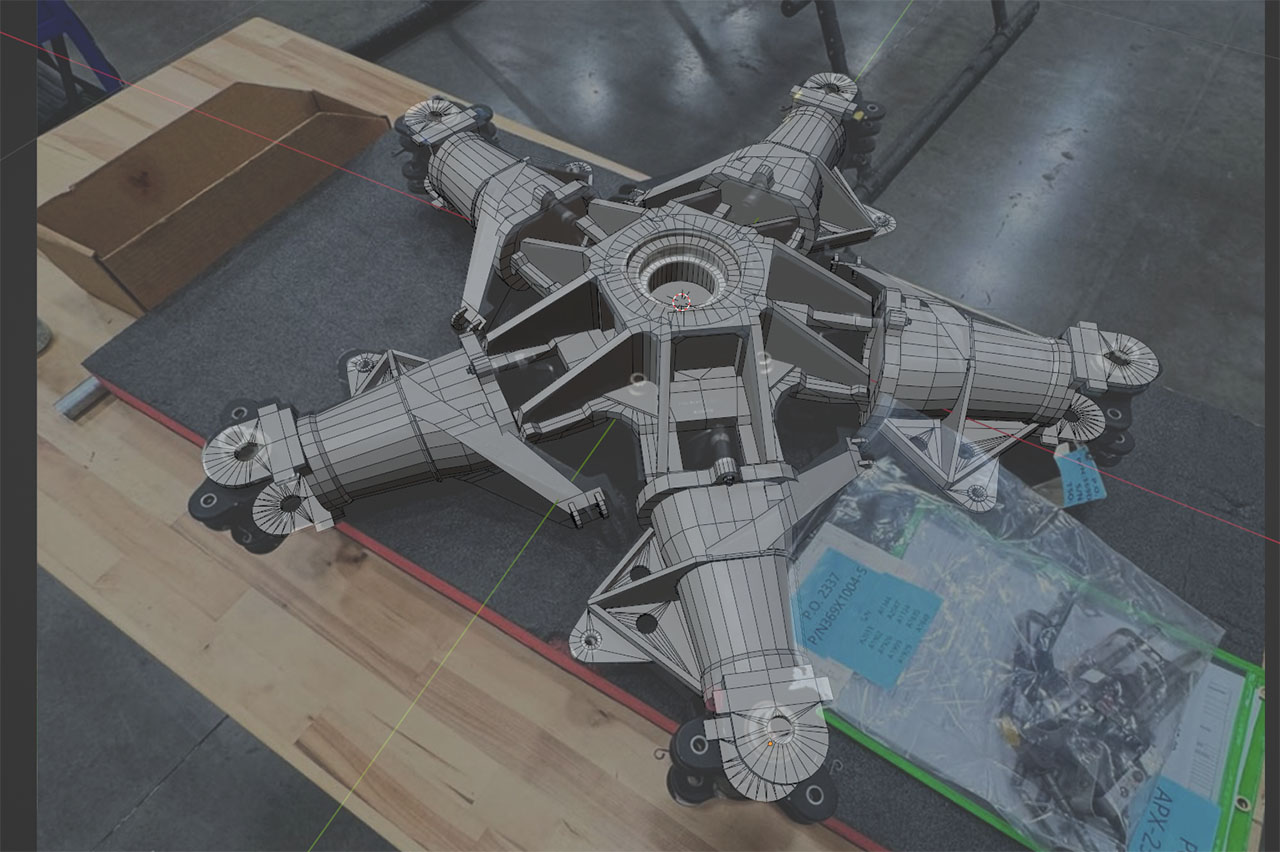
Once I had a reasonably shaped base for the pitch housing, I imported it into the scene with the rotor hub. I already had a camera with a photo in that scene, so I aligned the size and position of the imported model accordingly. This part was convenient because the scene already had five pitch housings, each rotated differently relative to the camera. After aligning one piece, I duplicated it using Alt+D and rotated each copy by 72 degrees, four times. That way, editing one piece updates all five simultaneously. I applied some adjustments and added elements characteristic of the MH-6J rotor system.
More to come…