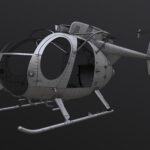
The process of creating a 3D model of the MH-6J Little Bird helicopter. The project is going to be large-scale, so I decided to record the workflow.
I spent several days searching for and saving photos of the helicopter. I don’t know the modifications well, so I saved everything I could find. Luckily, I had enough sense to sort everything right away. While excited, I also grabbed all the photos from a big sale of MD 500 helicopter parts.

Finally, the day came when I began modeling. I decided to start with the rotors, which I’ll later publish in my store as separate products. And after looking into it, I realized that different modifications can have different rotor types. So the rotor will have its own texture set.

I set up the photos to begin modeling. My main reference was a photo from a Japanese museum, where a nicely assembled OH-6J rotor is on display. I also have great photos of the Main Rotor Hub from an auction. What could possibly go wrong?
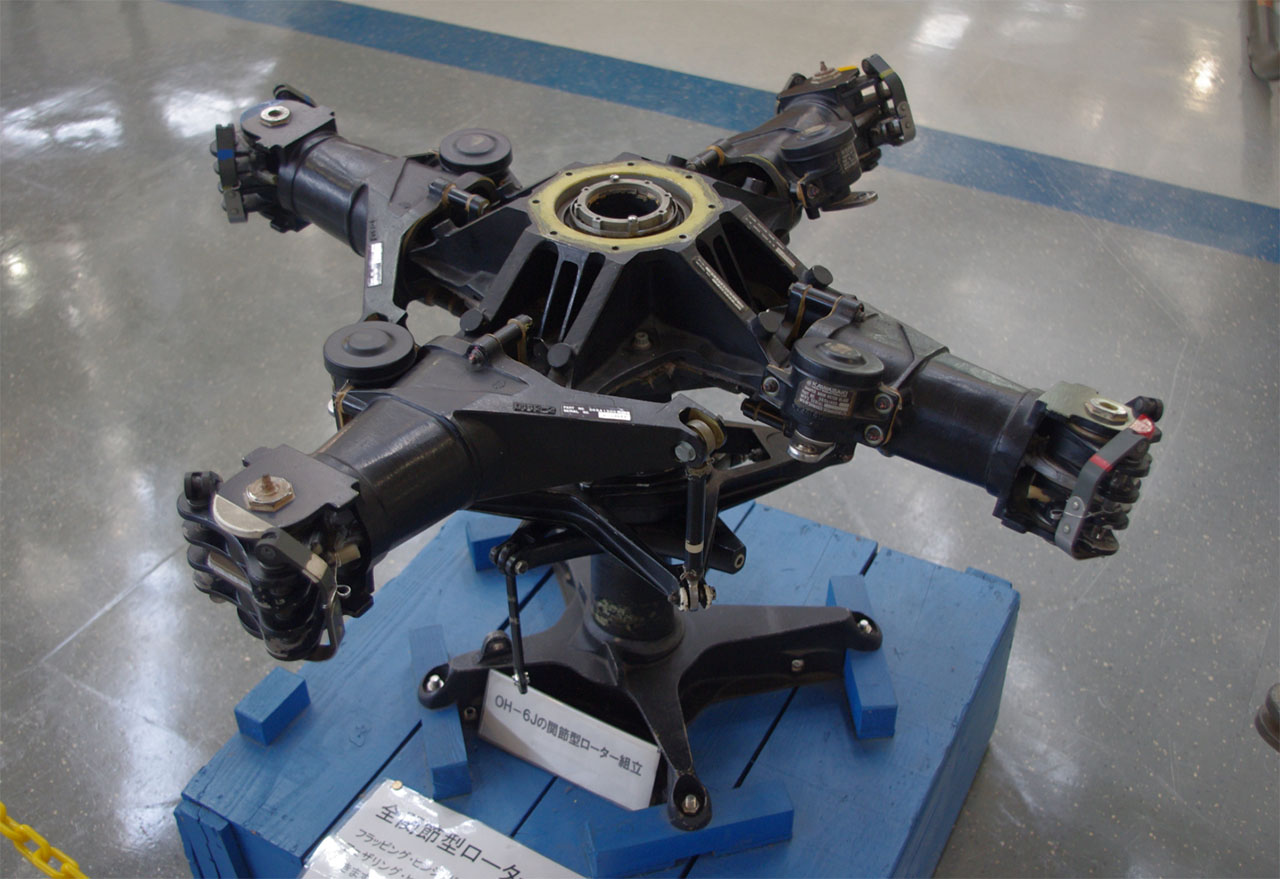
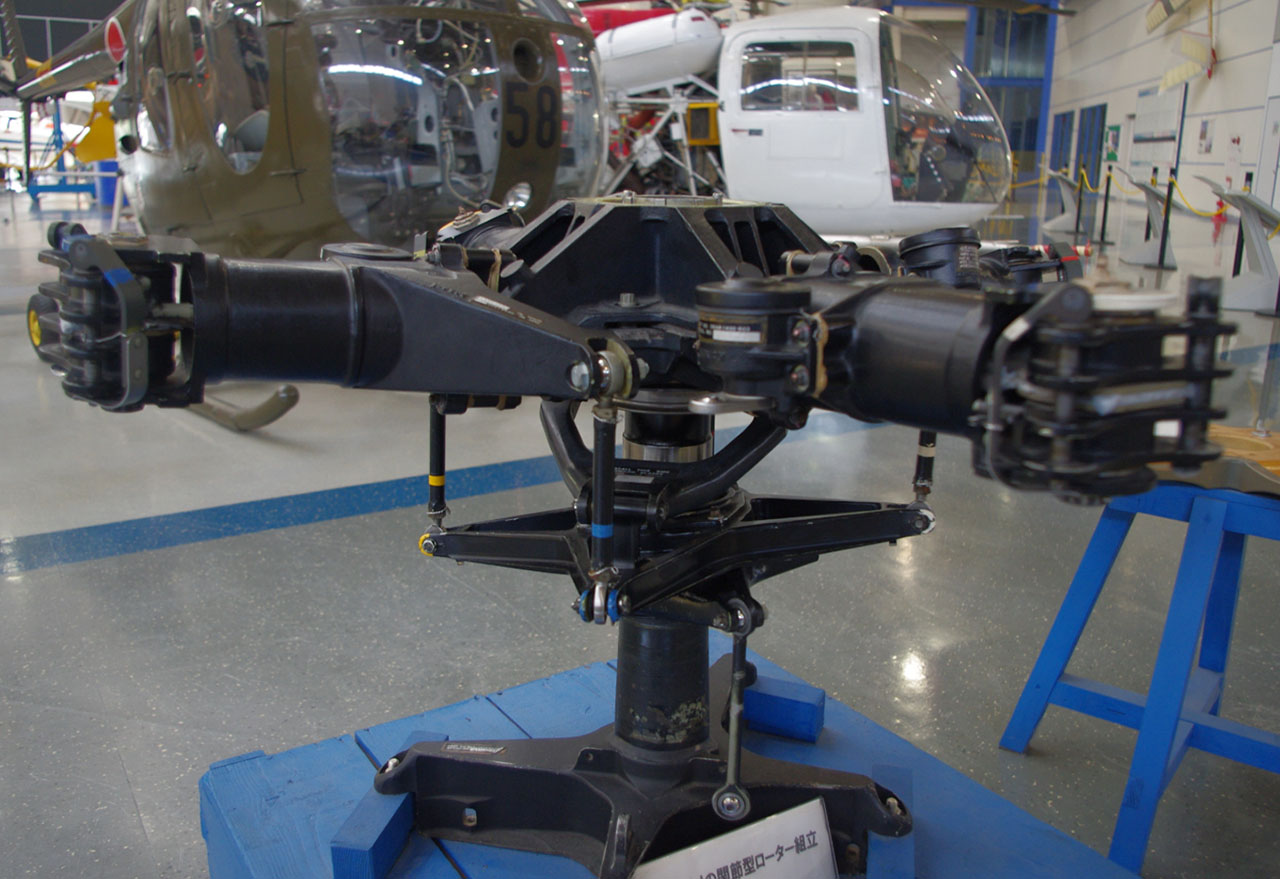
Then I noticed something wasn’t adding up. Well, of course! Besides other nuances, the MH-6J modification has 5 blades, not 4 like in my references! Fortunately, I have several good images of the Main Rotor Head for the version I actually need.


Photos of MD-500 and other modifications are also helpful, as they give a better understanding of the construction of this complex assembly.
The rotor head photos are not suitable for accurate camera matching in Blender or Image Modeler. So I combined AI generation with camera matching in Blender. First, using a single photo, I generated a model on https://3d.hunyuan.tencent.com/
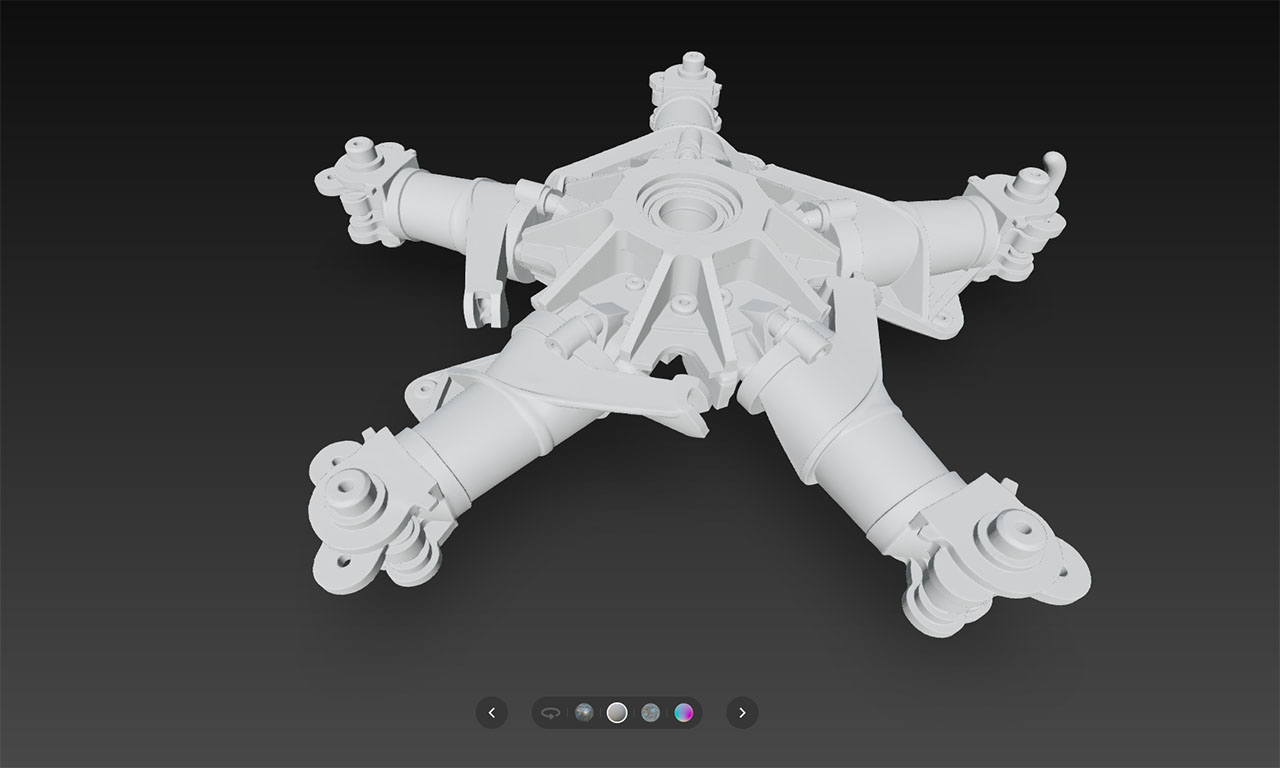
Despite the interesting result, the model has significant structural inaccuracies. I didn’t risk using it as a reference, but I made a clever workaround! Using this model, I placed markers and, with a Blender 3.5 add-on, performed camera matching based on the same photo from which the 3D model was generated.
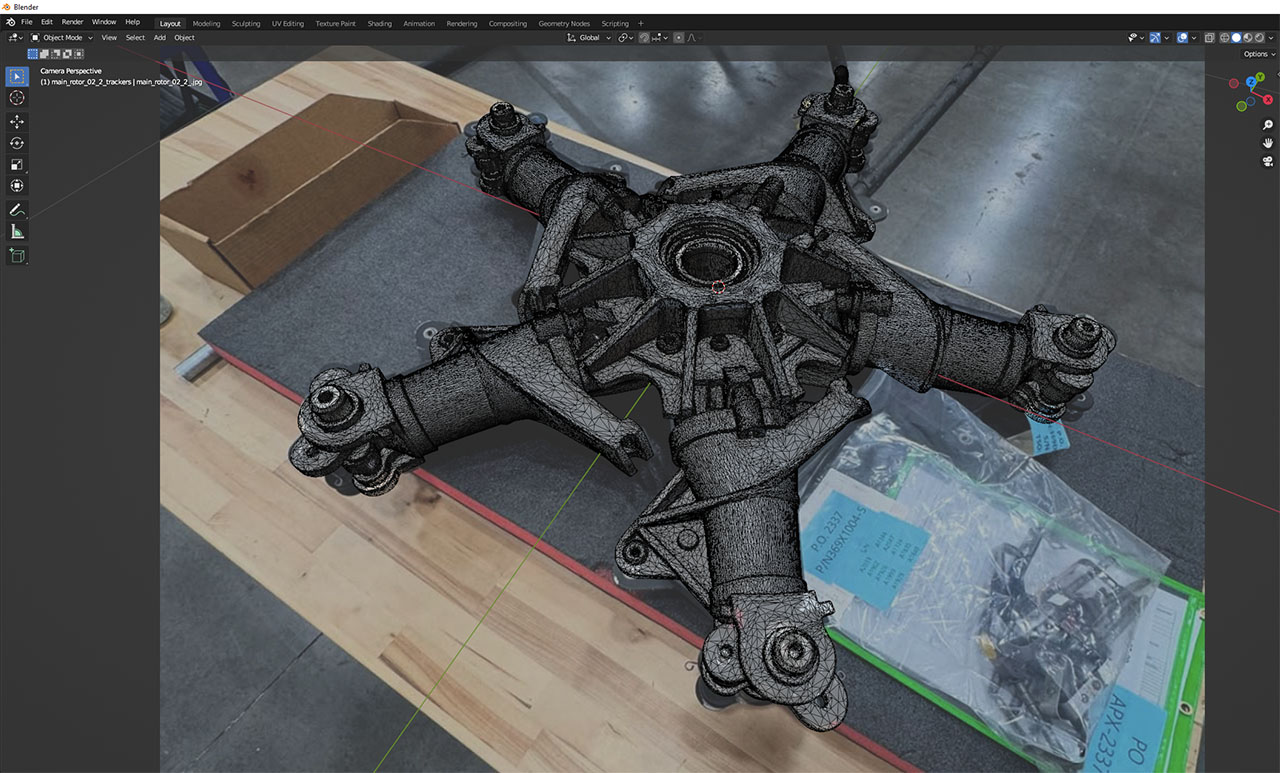
I’m not sure if it’s perfect, but at least it’s something! I began studying the structure of the rotor in more detail. Unlike the 4-blade rotor, the hub of this one has an unusual shape that I didn’t recognize at first and couldn’t understand how it was built! I broke the part down into simple forms. The base is a pentagon, and the reinforcing ribs turned out not to be parallel.

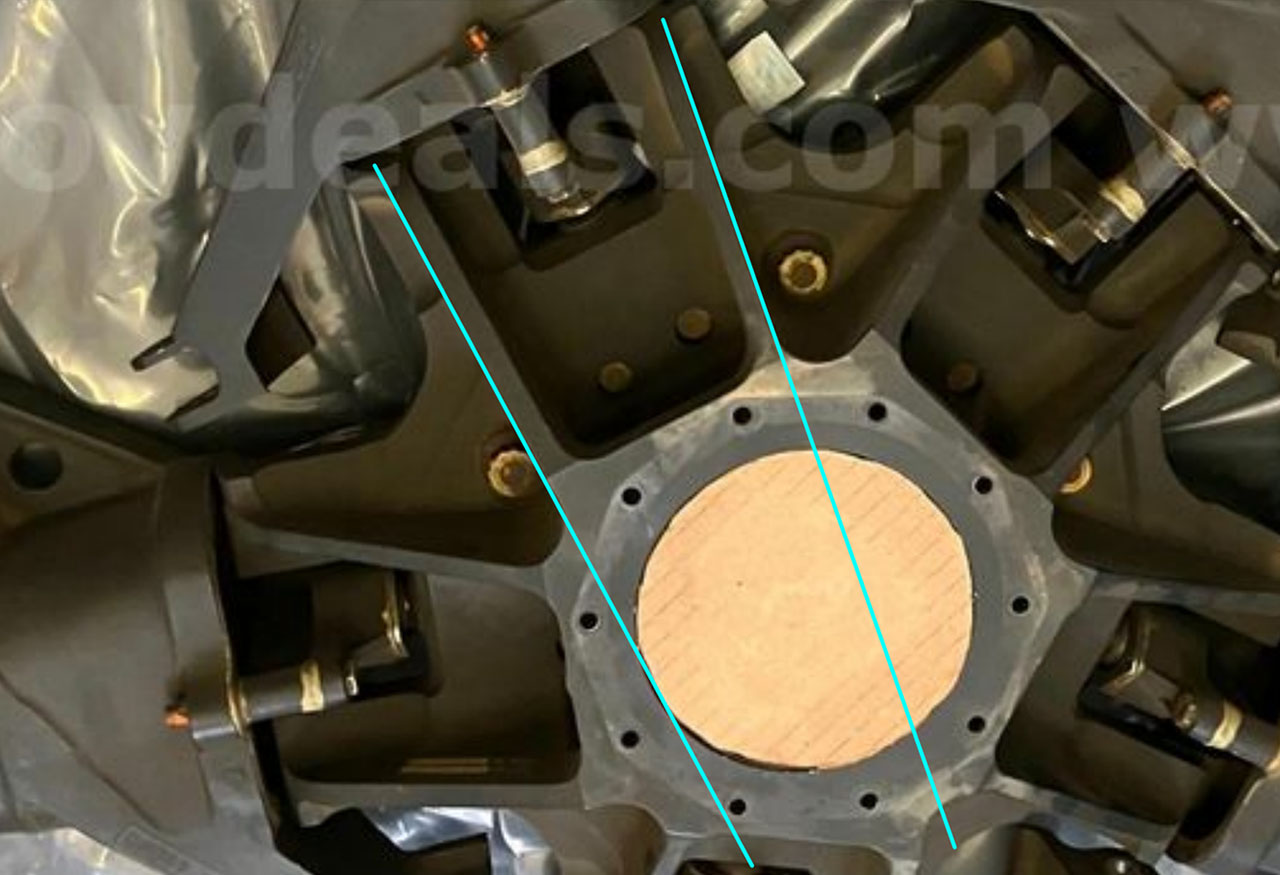
The shape is unusual, but so far it matches the photo. And yes—this is exactly why I set up the camera, so I can now model directly from the photo.

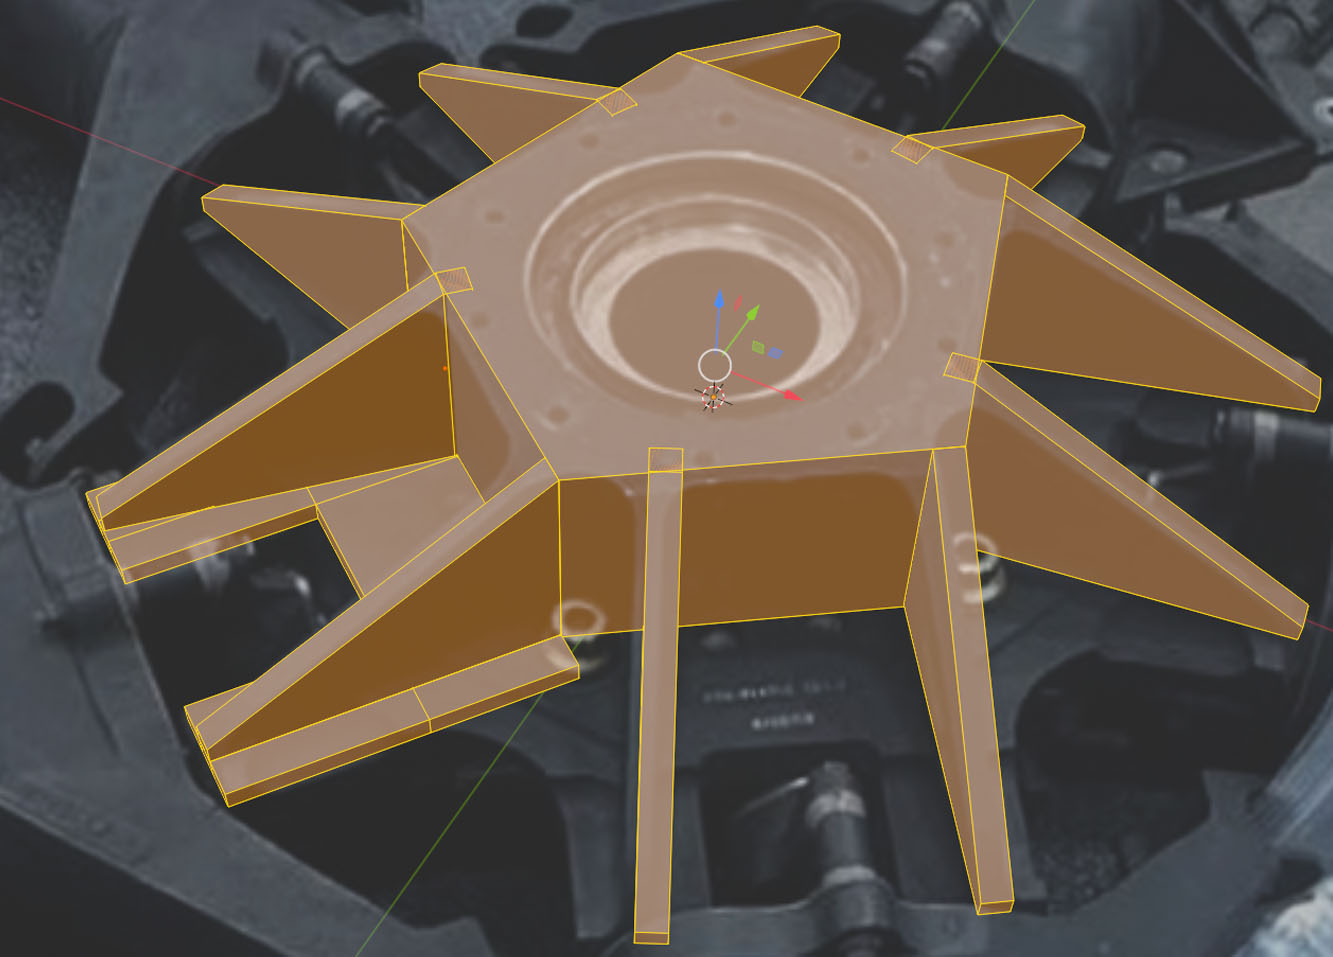
Without thorough reference work, I would have simply made everything symmetrical, which would have been wrong. More to come…