Finishing the MH-6J Main Rotor Base Mesh
I’ve reached the most complex part of the rotor. There are no photos of the individual components, and I lack a precise understanding of the assembly. However, I’ve tried my best to figure it out.

Fortunately, I have a photo of one key component. That’s where I’m starting…


Next, I tried to make sense of all these linkages and how they connect. I modeled it approximately so that everything at least fits together, though whether it will move correctly is another question.
These two photos (1 and 3) proved crucial; they provided a better understanding of the structure, even though the images themselves are quite blurry.


Next up: the rotor blades. Luckily, I found some good photos. Since the Pitch Housing is already finished, I positioned one of the photos as a reference in the scene and adjusted the scale. This allowed me to correctly determine the width and proportions of the blade.


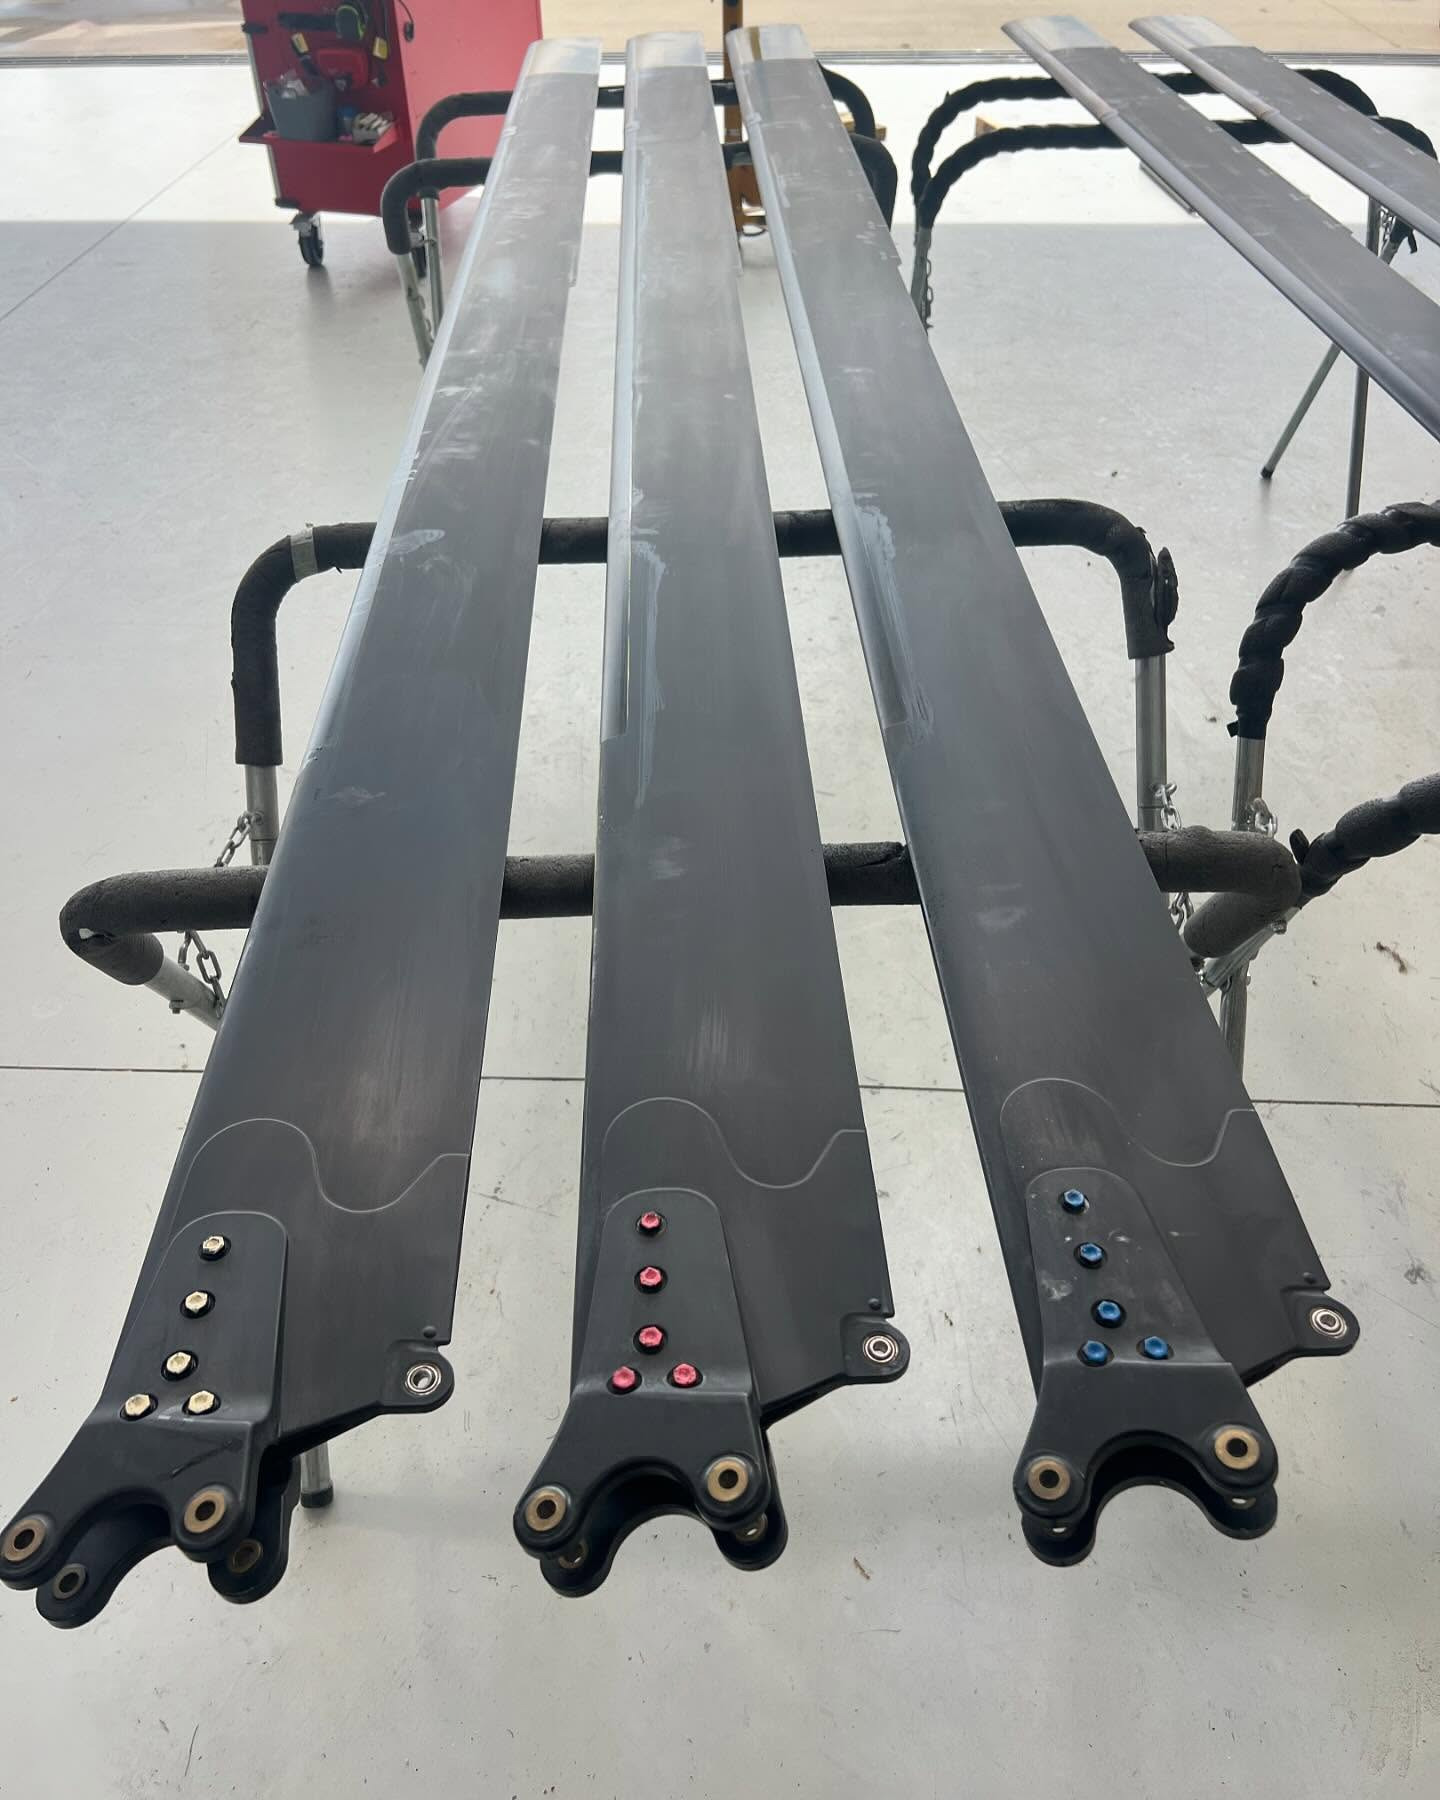
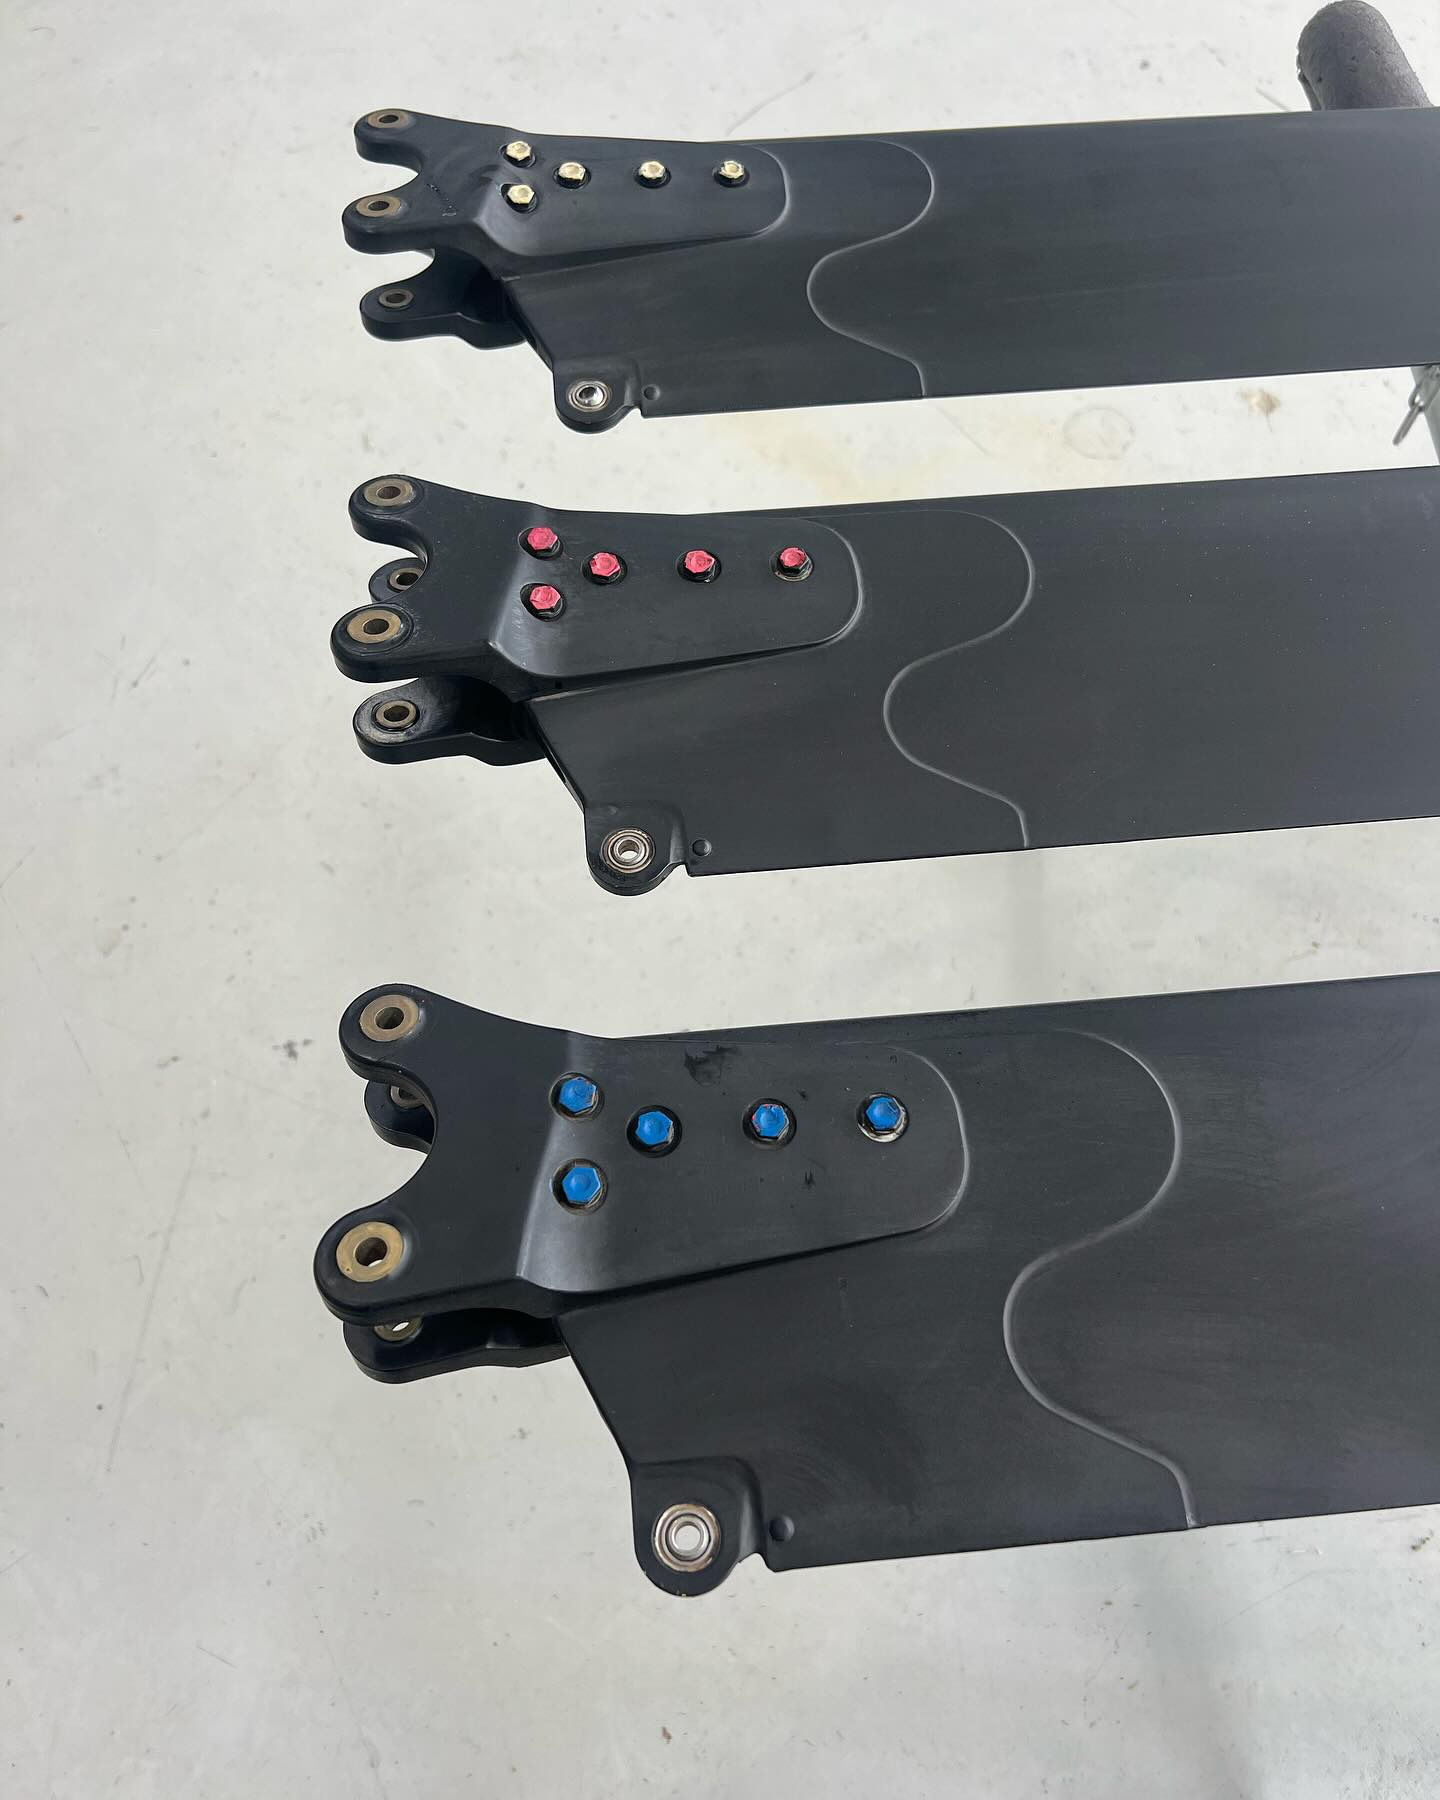
I determined the blade length based on the main rotor diameter, which is 8.3 meters.

Now I’m working on the upper part of the Main Rotor Drive Shaft. It connects the shaft to the rotor head. There are absolutely no photos of this specific part. I only have a diagram and one photo where the silhouette of this part is clearly visible.


The base for the Hub Fairing attaches on top. It can be seen in the diagram and in one photo that I brightened in Photoshop.


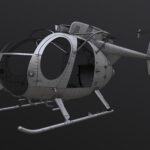
It looks like the work on the MH-6J main rotor base mesh is complete.


Next, I want to take a break from rotors and start working on the fuselage base mesh. Besides, I’m still not 100% sure about the rotor proportions, so it’s best to build the fuselage and see how everything looks together.
To be continued…
The completed high-poly main rotor model is now available in the 3D models store.

The completed game low-poly main rotor model is now available in the 3D models store.