Baking materials is one of the methods I use to transfer textures from one model to another. In this post, I’ll explain when this technique can be useful and what tools I use for it.
Most often, 3D artists use the “baking” method to generate Normal and Ambient Occlusion maps from high-poly models. However, you can bake not only geometry details but also the materials applied to a high-poly mesh. This approach is especially useful when optimizing or retopologizing 3D scans and other highly detailed textured models.
I also use it when creating game-ready 3D models, particularly for generating Levels of Detail (LODs). Let’s look at the process using a specific example.
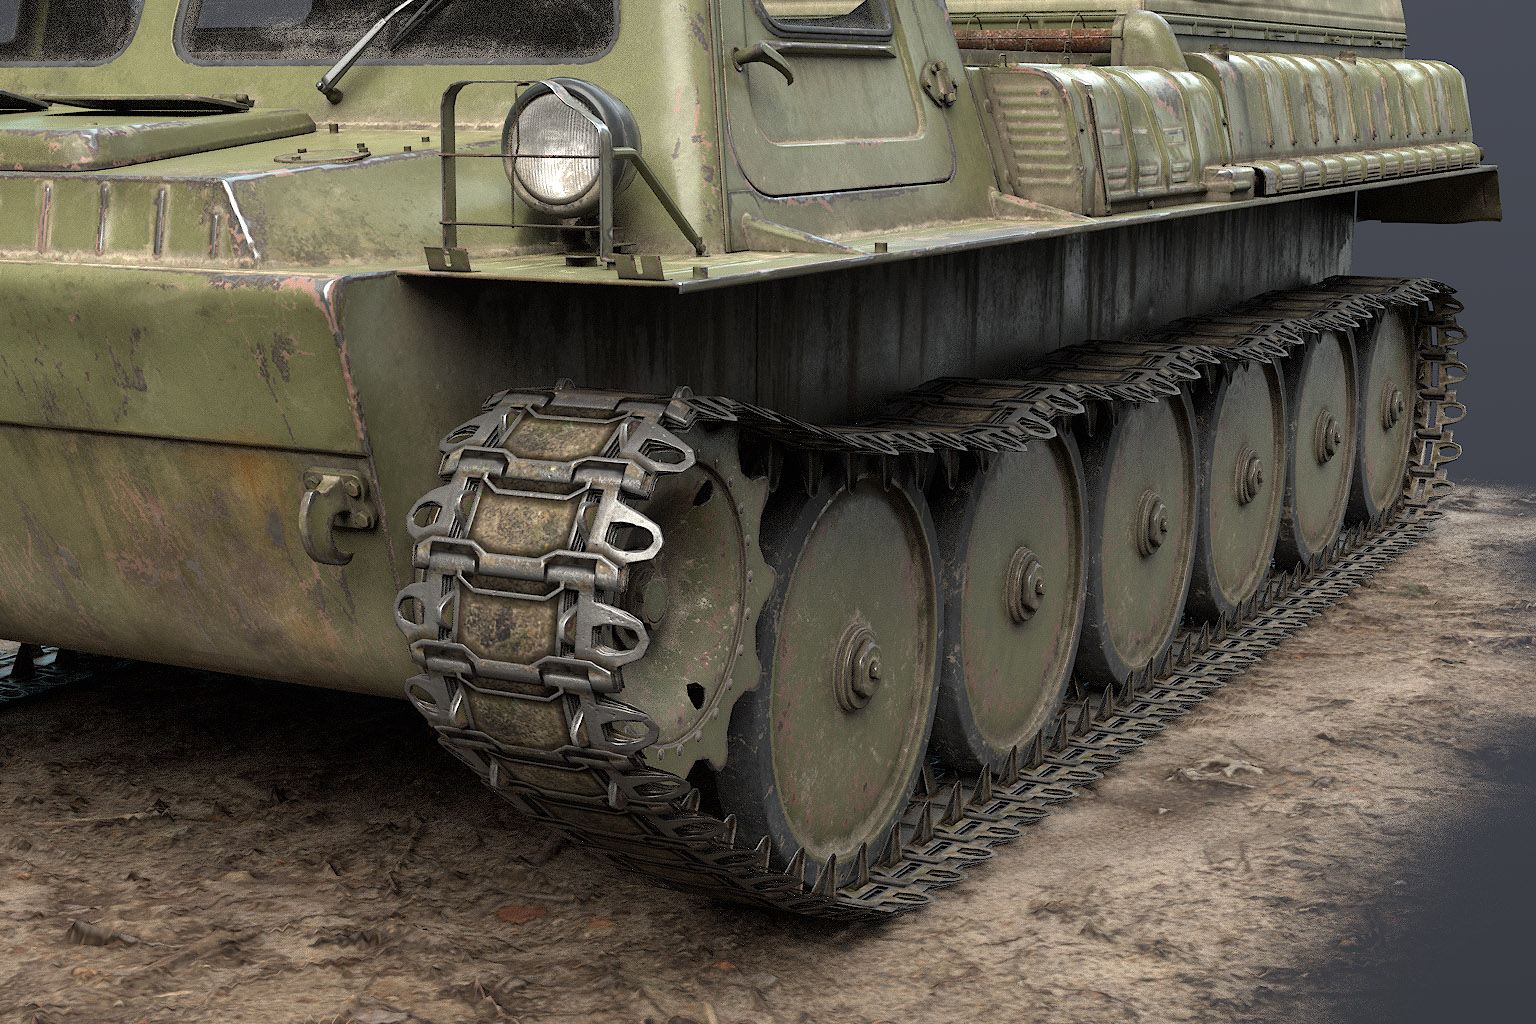
Creating an Optimized Flat GAZ-71 Track
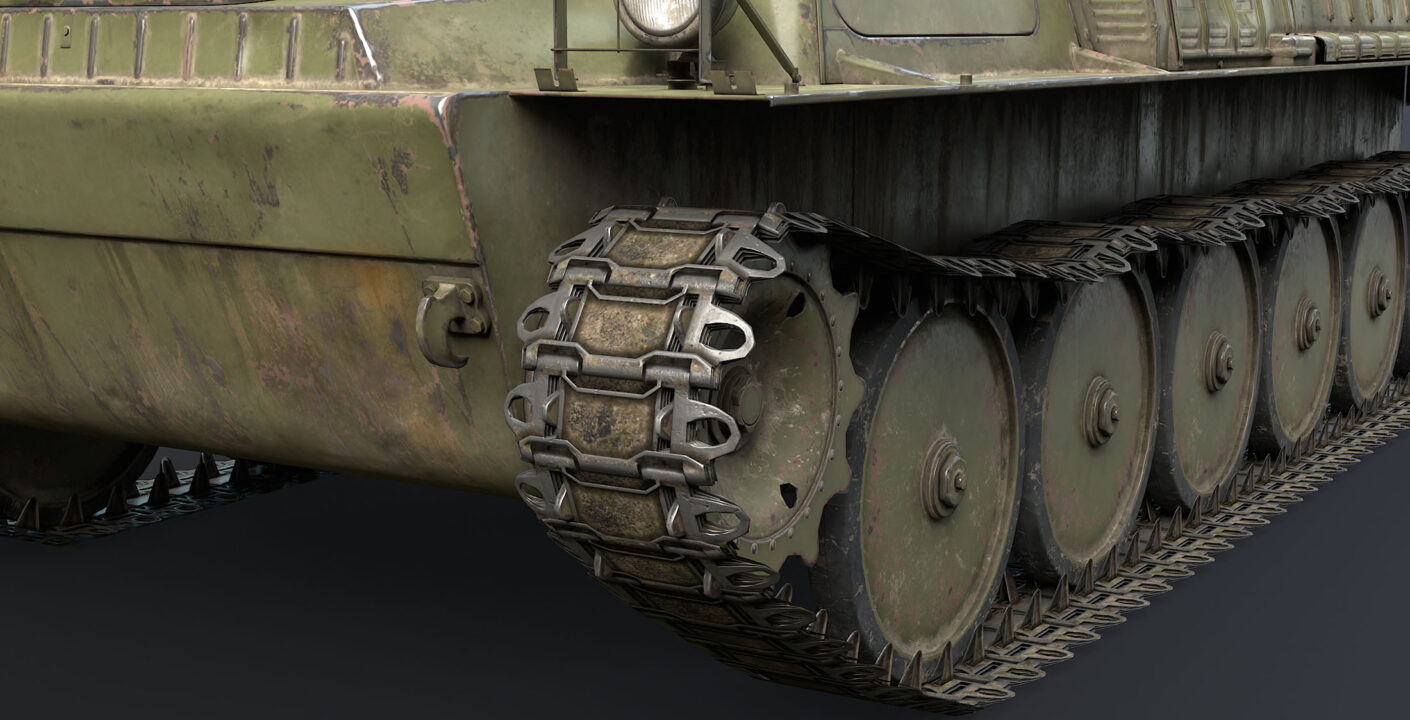
- I start by creating a new scene and importing a fragment of a detailed track (in this case, the LOD0 caterpillar segment) with textures. Usually, I use a fragment that includes two or three unique track links plus one link from each edge to ensure a proper tileable texture.
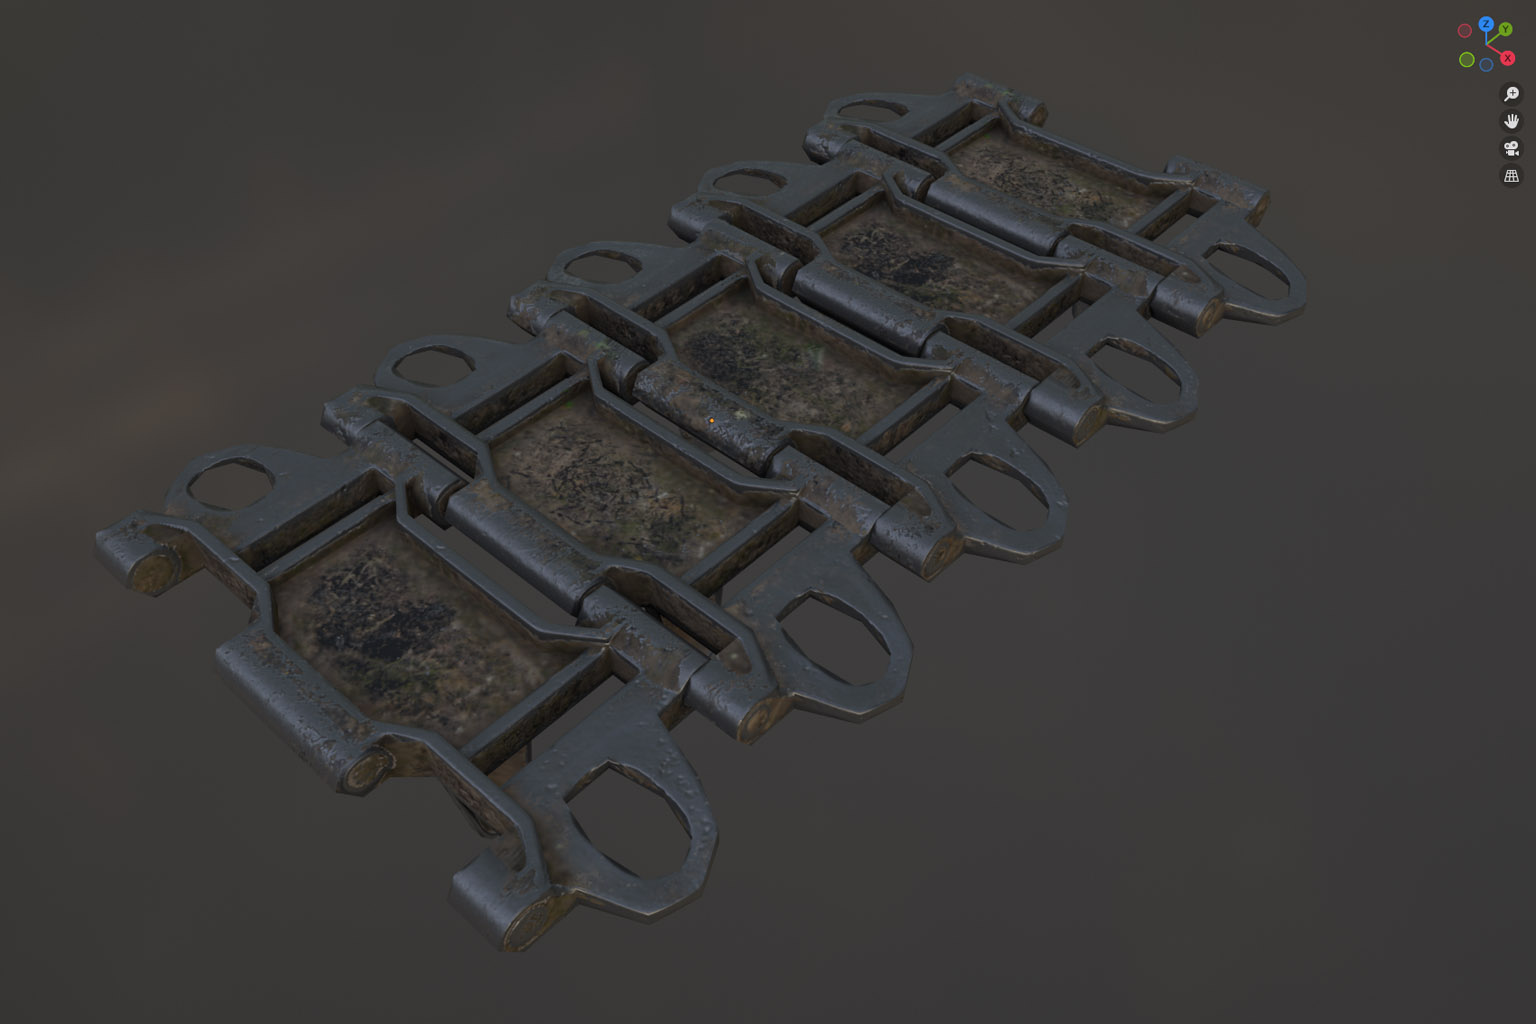
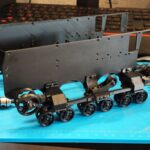
2. Next, I create a simplified low-poly geometry of the flat track — just a few planes for the outer and inner sides of the tracks and for the ridge teeth.
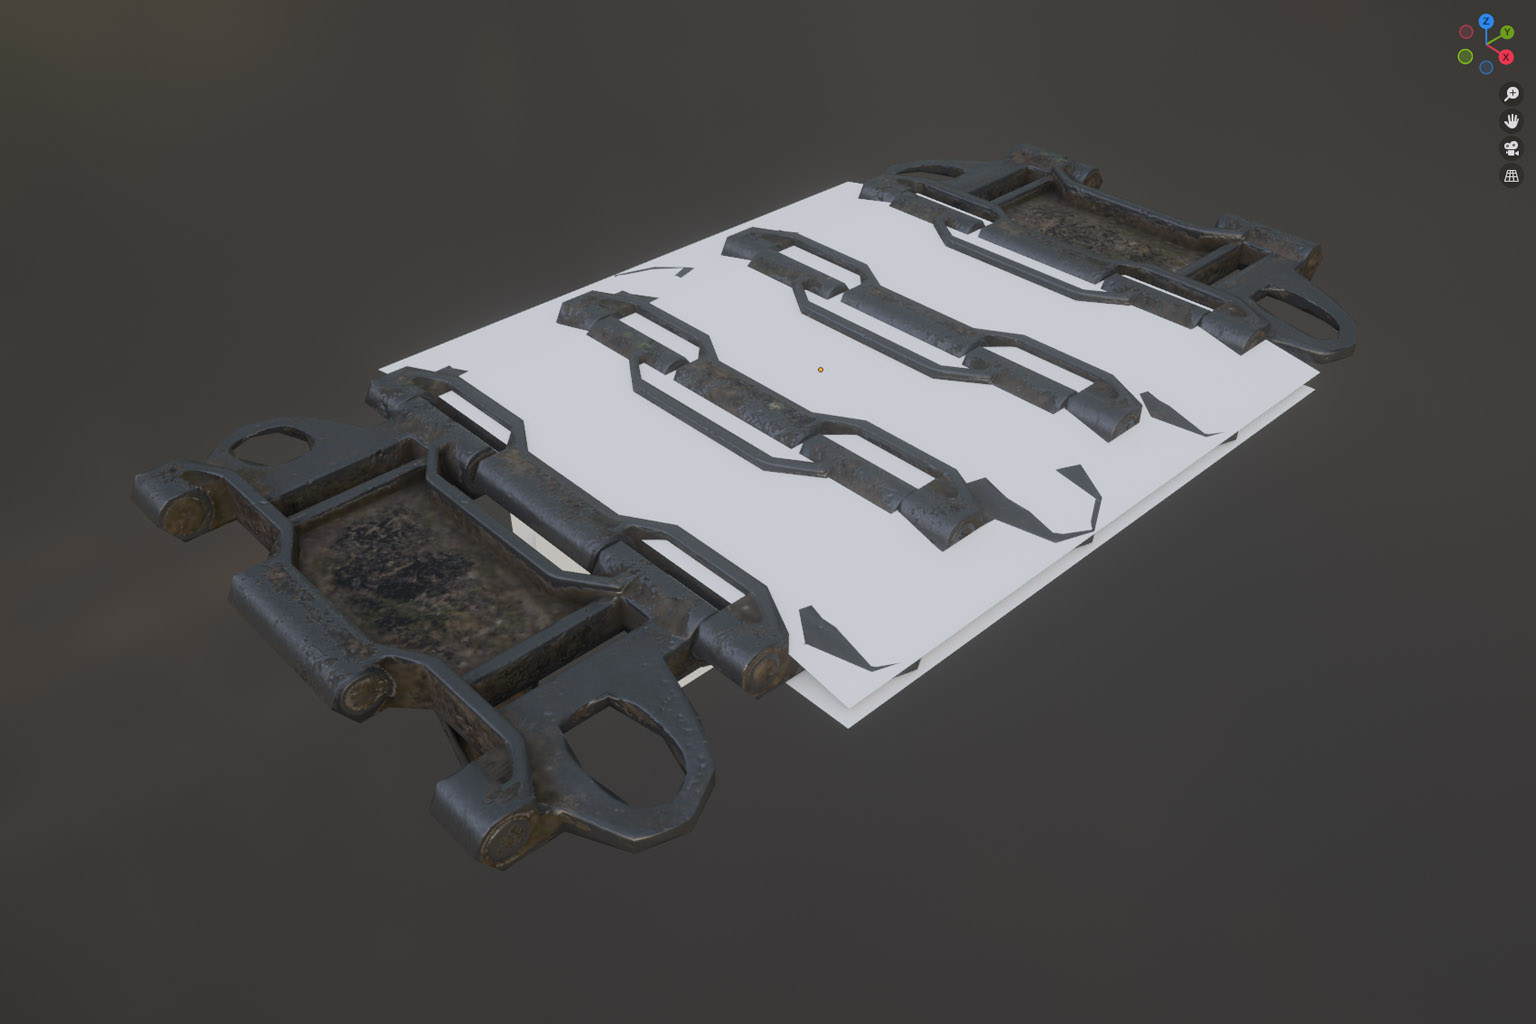
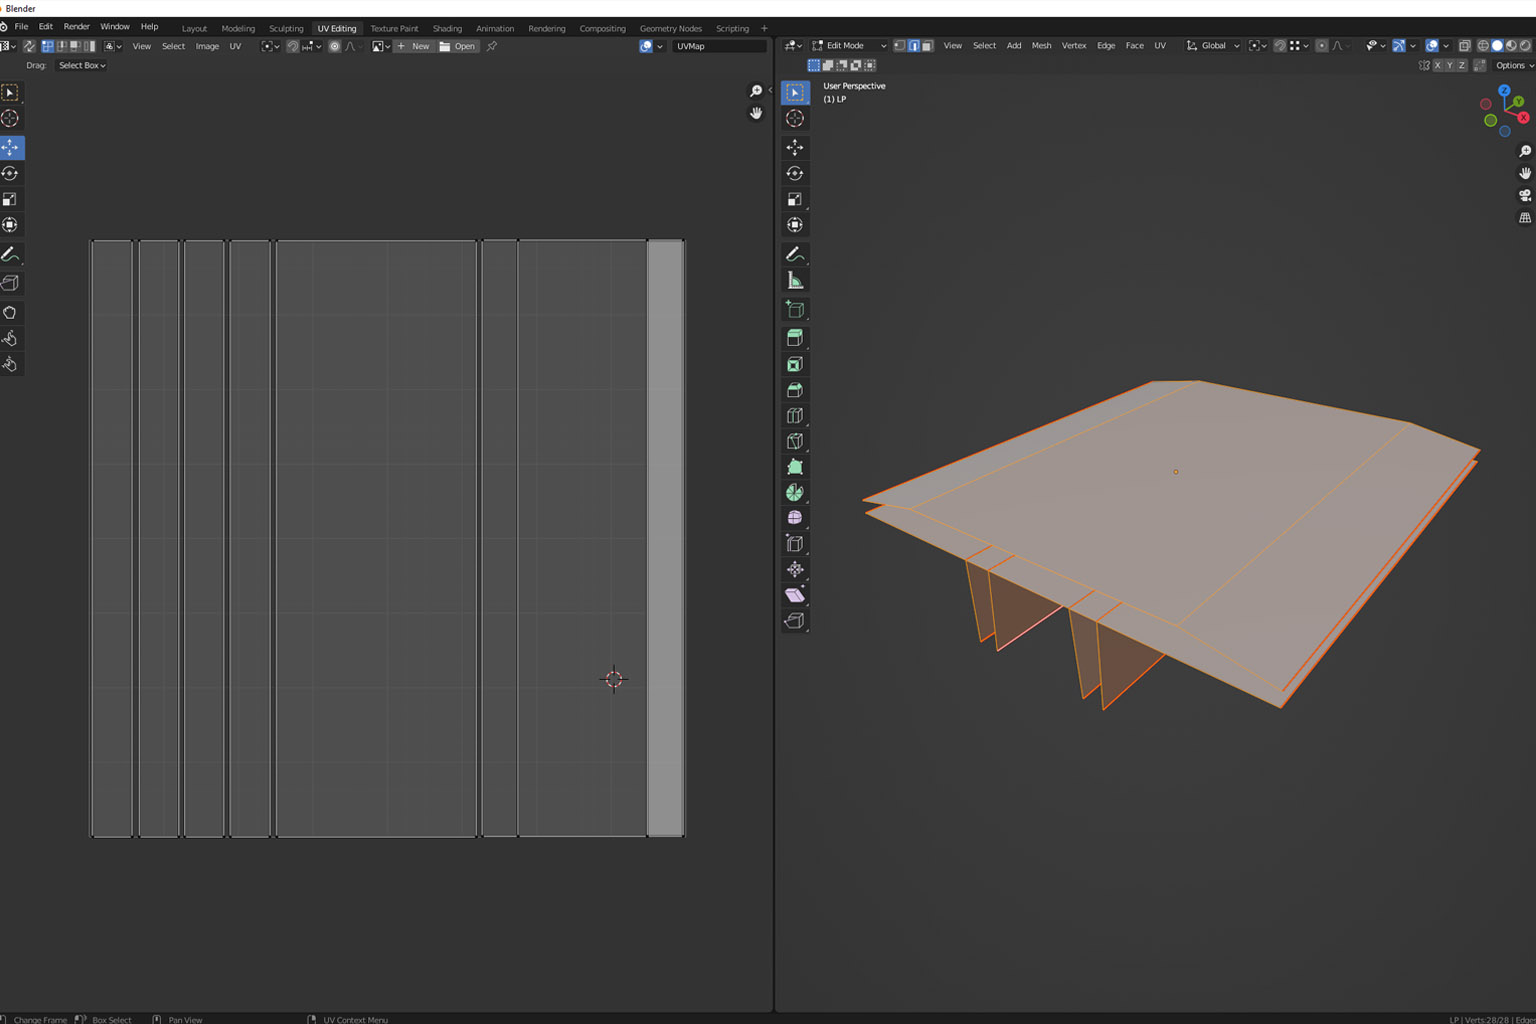
3. I unwrap the UVs for the flat track, keeping in mind that the texture should tile seamlessly along one axis. In my case, the tiling goes along the Y-axis. The final texture will have an aspect ratio of 1:2, but at this stage that’s not important — I simply stretch the UVs to fill the entire square.
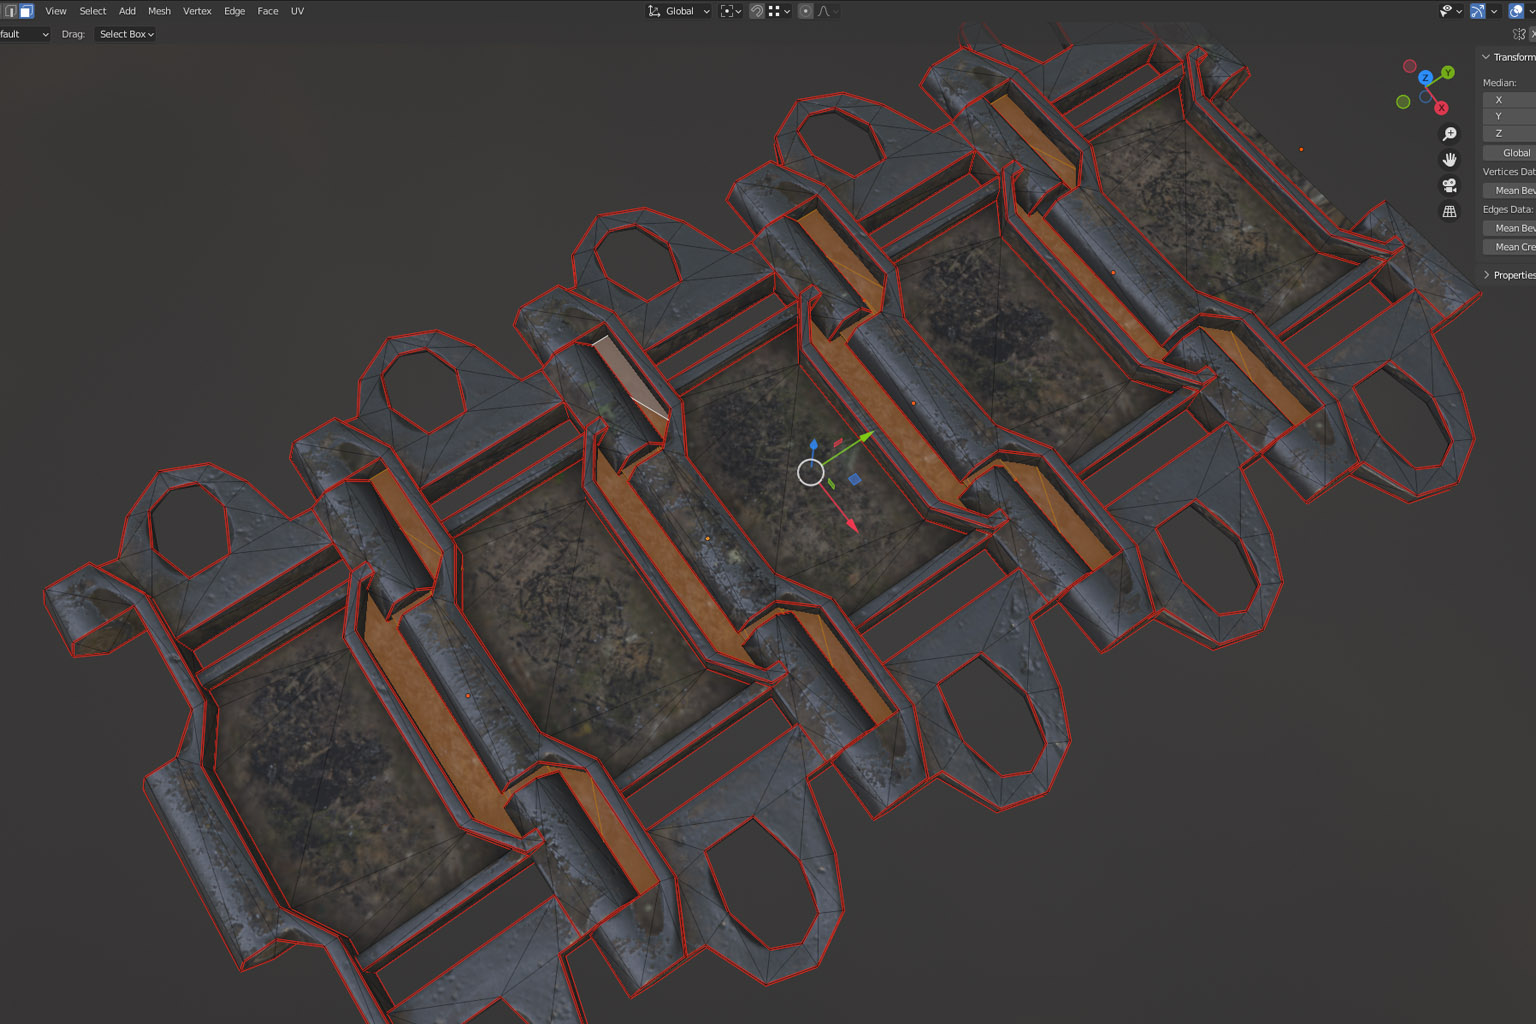
4. Since the future texture will include an alpha channel with transparent areas, I “close” any unnecessary holes before exporting. In this model, I don’t want alpha transparency between the tracks, so I cover those gaps with temporary geometry.
5. I export the model from Blender and import it into Marmoset Toolbag 4. There, I configure the materials for the detailed tracks, create a Bake Project, and select the necessary maps in the Configure panel. Don’t forget to properly adjust the Cage settings before baking.
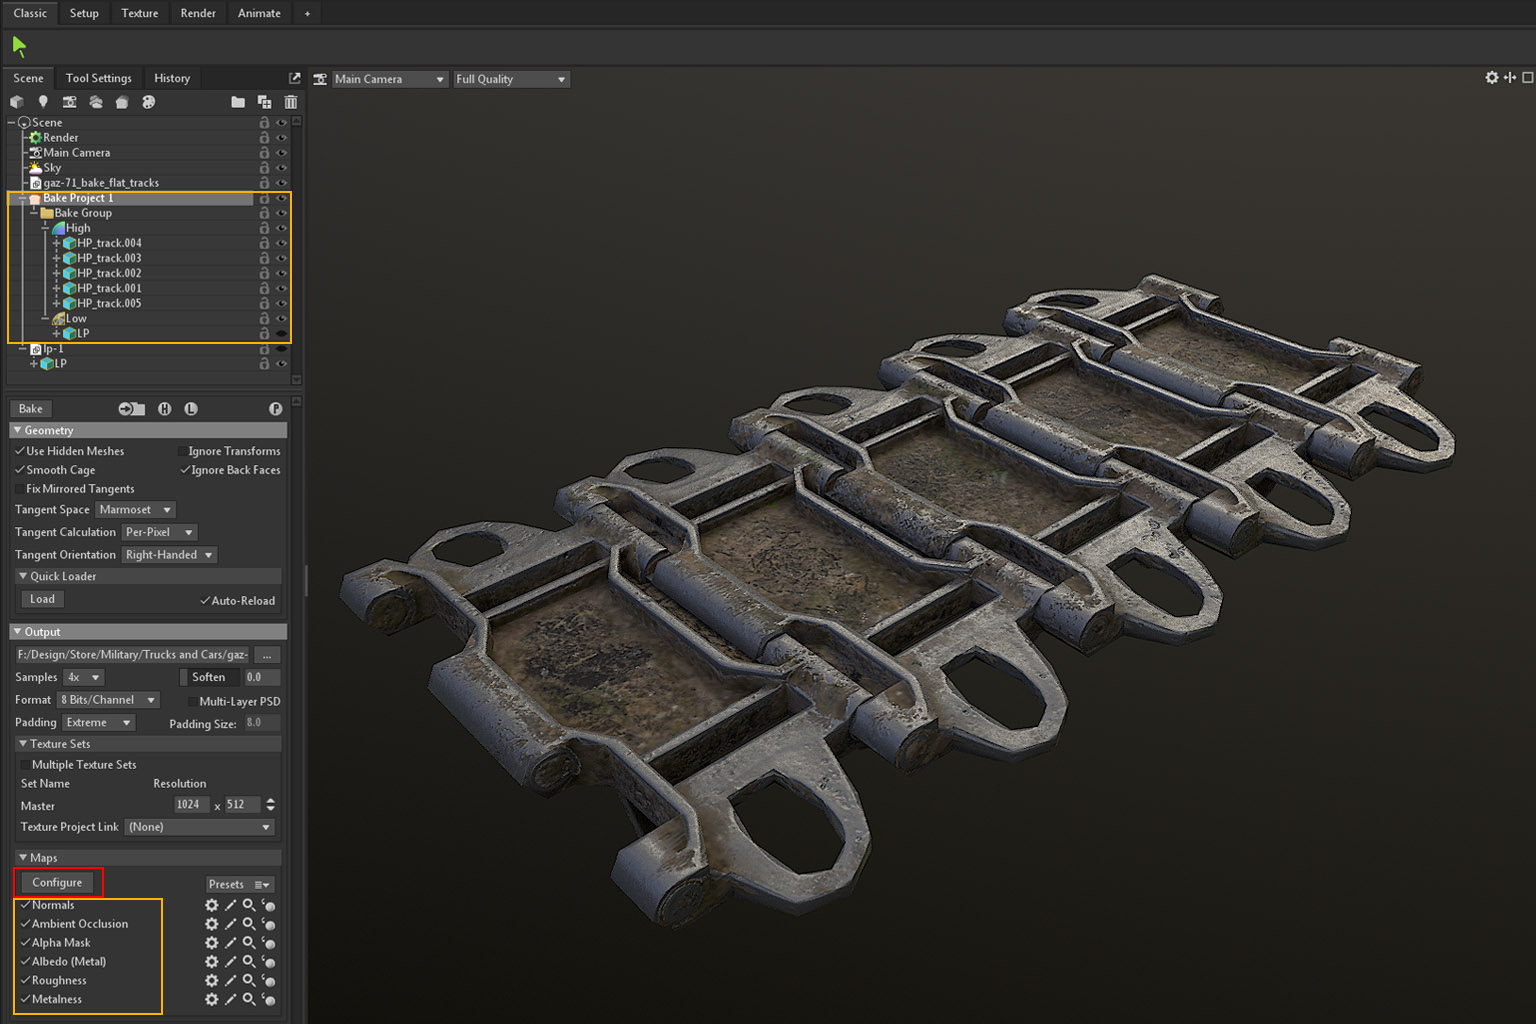
6. After pressing the Bake button, I get six texture maps. What I really like about this workflow is that the resulting Normal Map and AO Map contain data not only from the geometry but also from the textures of the high-poly model.
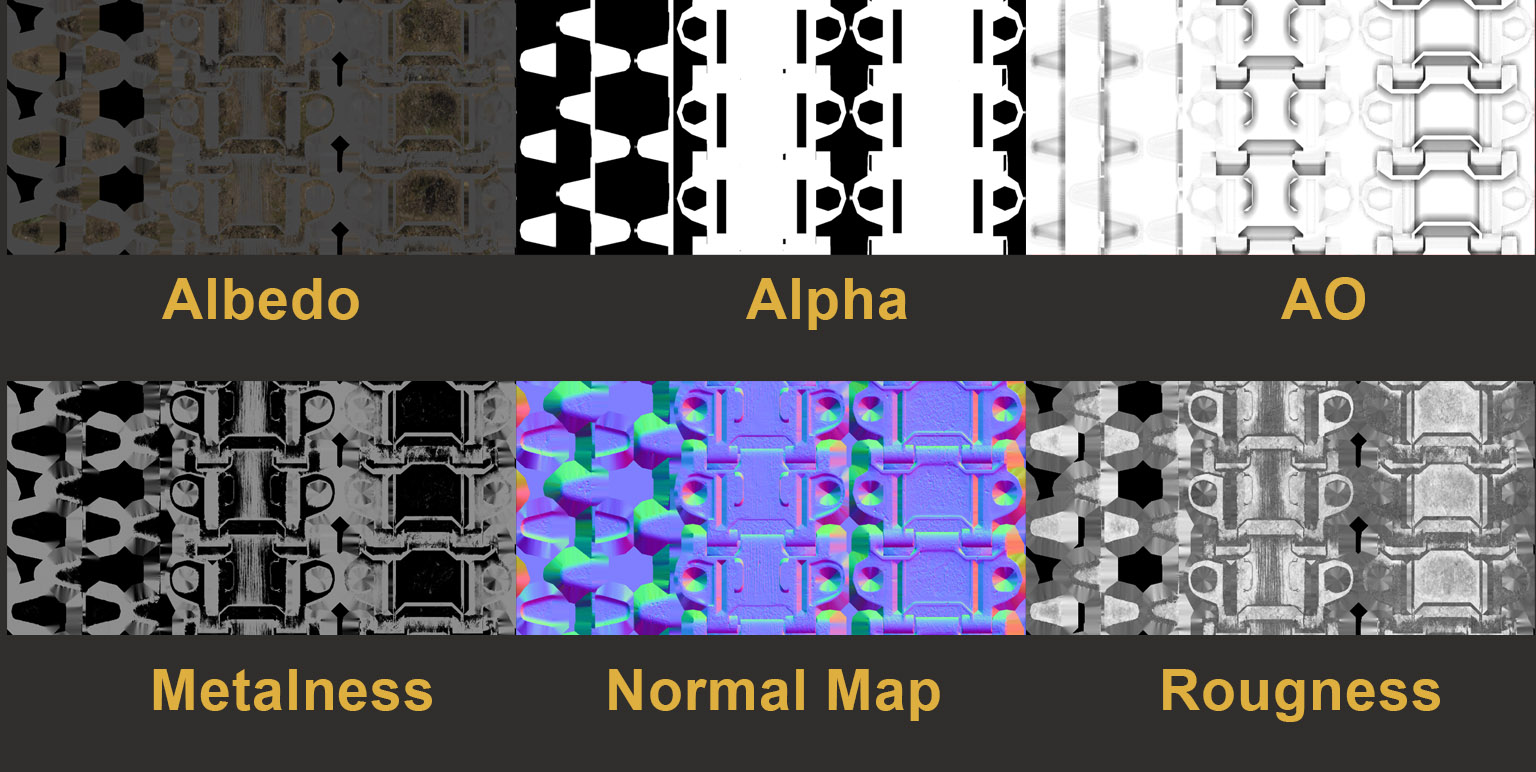
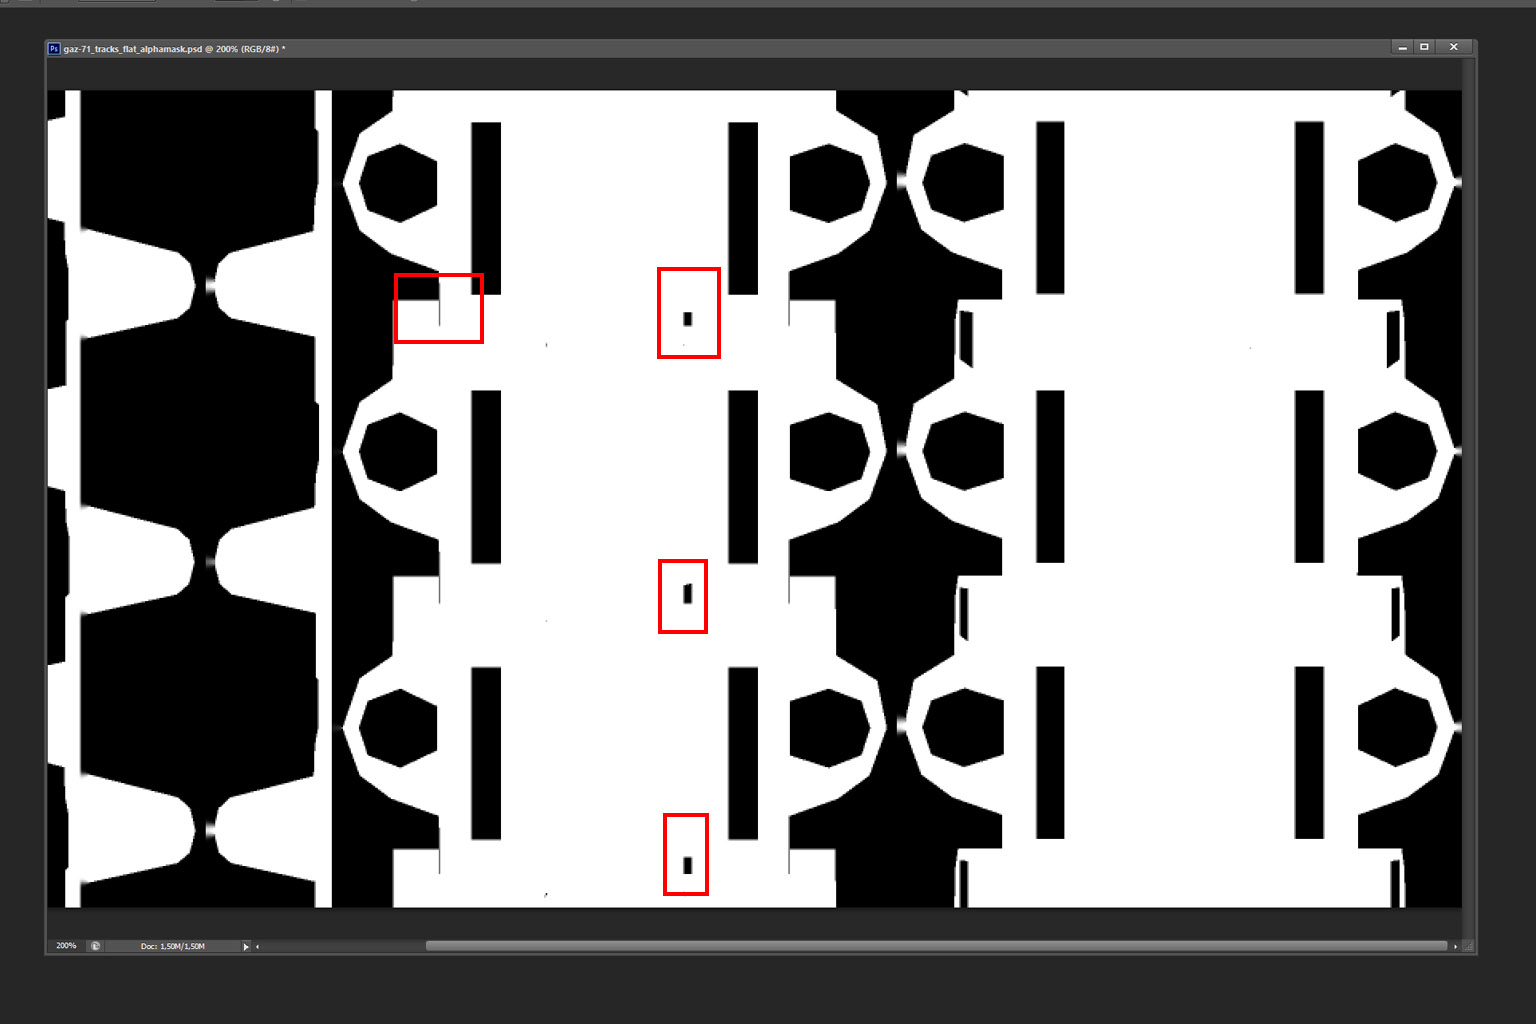
7. If needed, I manually refine the alpha channel — for example, by fixing small holes. You can also slightly enhance the AO map to add contrast and fake a sense of depth on flat tracks.
8. Once the textures are ready, I finalize the geometry of the flat tracks. I merge vertices that were separated for baking and duplicate some planes to create a stronger illusion of depth.
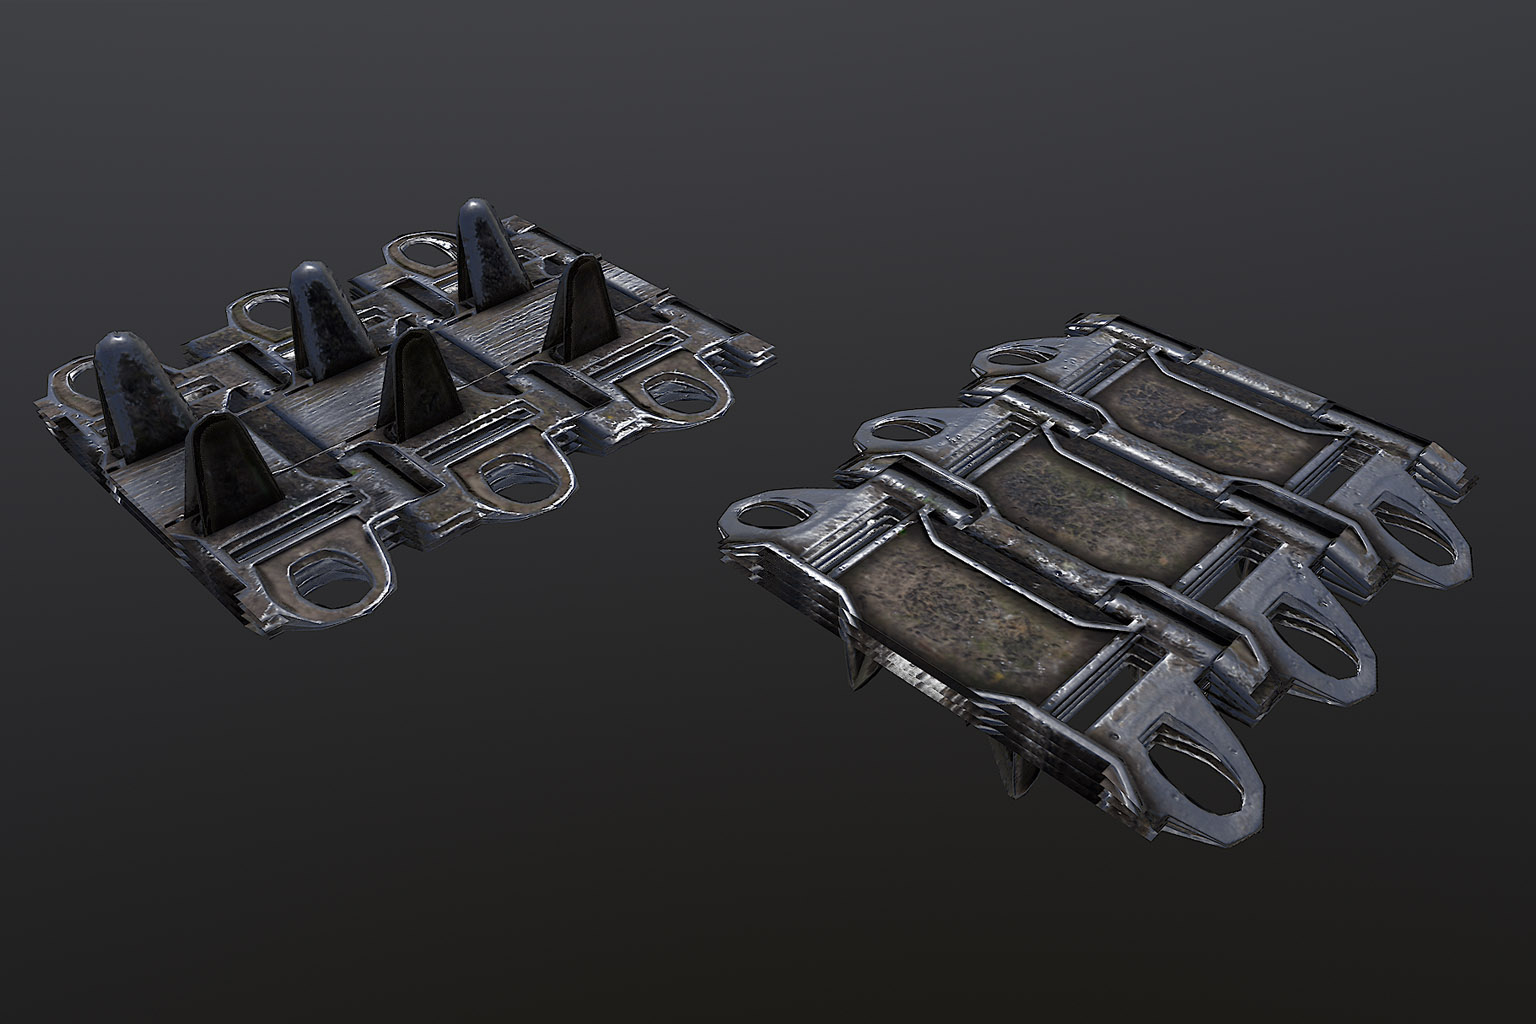
9. From a distance, this type of track looks perfectly fine, while drastically reducing polygon count and simplifying the animation process.
Other Use Cases
This method of transferring materials from one model to another can also be used to reduce the number of texture sets in a model.
For example, my BMD-2 model’s LOD0 version uses three textures: hull, turret, and wheels/tracks. The LOD3 version, however, not only has fewer polygons but also uses just one main texture (for the hull, turret, and wheels) plus a single tiled texture for the tracks.
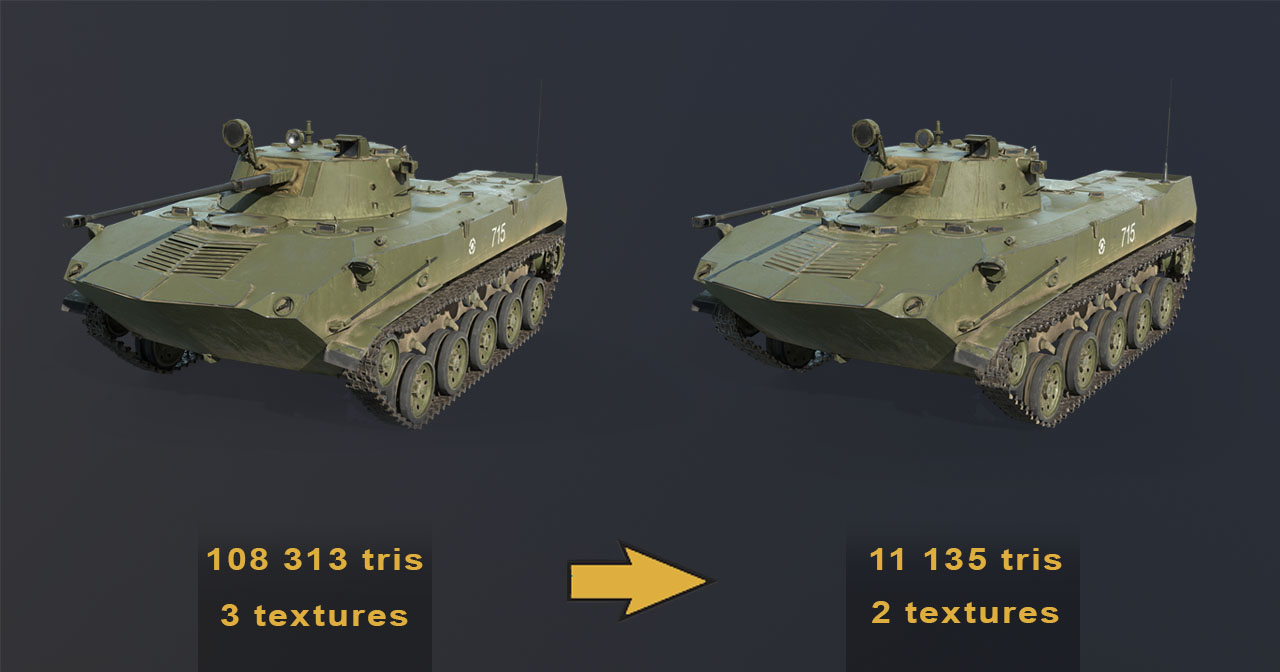
You can apply this same method even without reducing polygon count. For instance, some of my older models have suboptimal UV layouts, forcing them to use three or four texture sets. With modern tools, I can repack their UVs into one or two texture sets with minimal or no loss in Texel Density.
Essentially, I have two identical models but with different UV layouts. Using the baking tools in Marmoset Toolbag, I can easily transfer textures from one model to the other — though there are some nuances I might cover in a future post.
This post is not meant to be a full tutorial on 3D modeling in Blender or texture baking in Marmoset, but rather a practical note for experienced 3D artists looking to refine their workflow.