In this video, I showcase the main tools and features currently available in the beta version of Plasticity — along with a short practical demo of creating a 3D model.
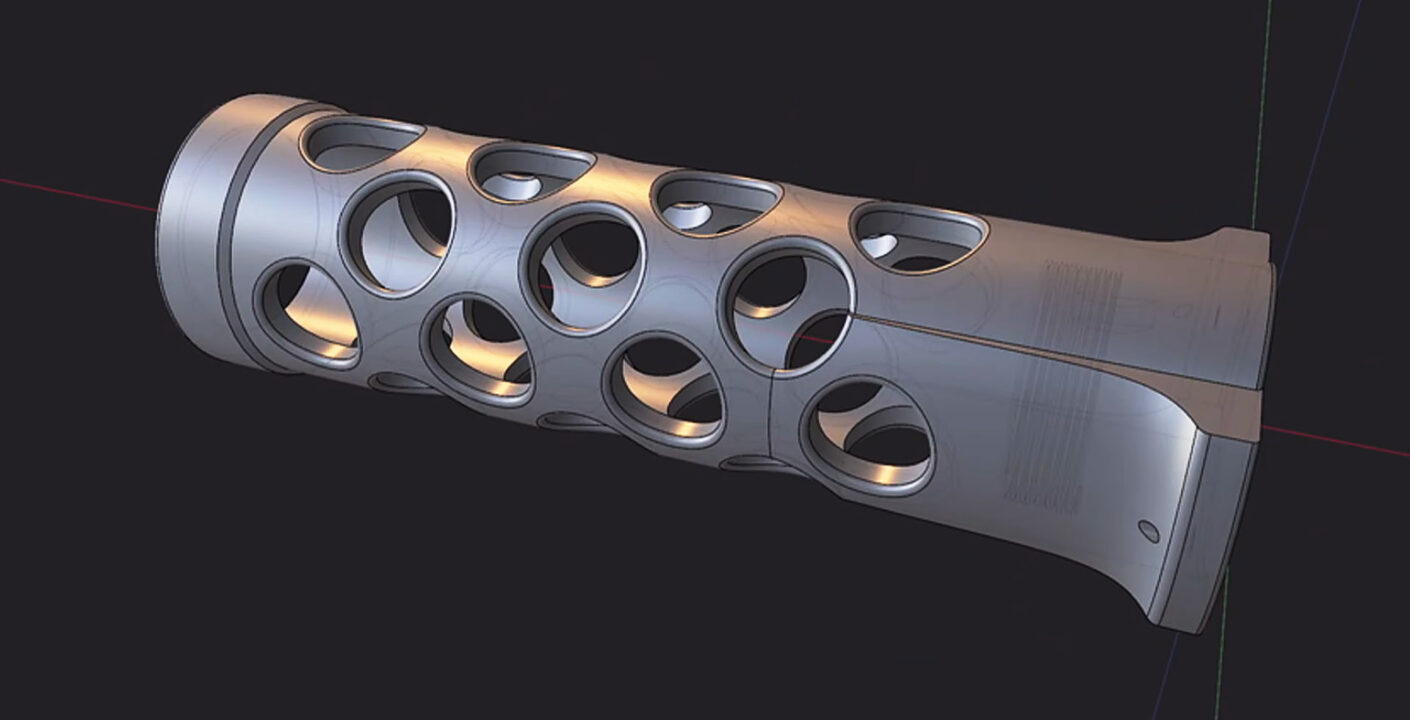
I want to share my impressions of this amazing new software called Plasticity! It’s a new NURBS-based 3D modeling tool that’s currently in open beta. In this video, I’ll go over the core tools that are already implemented in the program. And at the end, there’s a bit of practice — I’ll show how to model a part from the M2 Browning machine gun.
I discovered this software by accident on Instagram. While browsing through different artists’ works, I noticed a post mentioning an unfamiliar program called Plasticity. The models looked distinctly CAD-style, and that caught my attention — I’ve wanted to try this approach to modeling for a while. However, tools like Fusion 360 never felt very comfortable to me.
Plasticity, on the other hand, is designed to be simple and intuitive, especially for artists and designers.
Hotkeys and Shortcuts in Plasticity (Beta)
Navigation
In the preferences, you can choose between several ready-made presets similar to Blender, 3ds Max, Maya, or Moi3D.
I personally use the Blender-style controls.
Keep in mind that hotkeys are layout-sensitive, so make sure to switch your keyboard to English.
- Mouse Wheel – Zoom camera
- Mouse Wheel (Hold) – Rotate camera
- Shift + Mouse Wheel (Hold) – Pan camera
- Ctrl + Mouse Wheel (Hold) – Zoom camera
- Alt + Mouse Wheel (Hold) – Switch to orthographic views (Front, Top, etc.)
- . (dot) – Frame selected object
- Numpad . (dot) – Frame selected object and hide everything else
- Numpad 5 – Toggle between perspective and orthographic view
- Spacebar – Align the camera perpendicular to a selected face (creates a temporary coordinate system)
Object / Element Modes
- 1 – Vertex (curve editing mode)
- 2 – Edge mode
- 3 – Face / Surface mode
- 4 – Object mode
- Tab – Combined editing mode (enables all four modes at once)
- Shift + LMB – Select multiple objects
- Ctrl + LMB – Deselect object
- A – Select all
- H – Hide selected
- Ctrl + H – Hide all
- Shift + H – Hide unselected
- Ctrl + G – Group selected objects
- Ctrl + D – Snap object to surface or curve
- Shift + D – Duplicate selected object
- J – Join selected objects
- X / Del / Backspace – Delete
- Shift + Backspace – Delete face in a solid object
- F – Quick search and tool access
Transformation
- G – Move
- R – Rotate
- S – Scale
Each of these has a few special features:
- V – Set Pivot Point / Origin
- F – Freestyle: define a custom rotation axis using two arbitrary points
Holding Ctrl while transforming enables snapping to other elements.
When rotating, holding Ctrl locks rotation to increments (5° by default).
Main Editing Tools
-
Q – Boolean operations:
-
W – Subtract
-
Q – Union
-
Shift + Q – Split
-
Shift + E – Intersect
-
-
B – Fillet / Bevel
-
D – Round fillet
-
C – Sharp chamfer
-
- E – Extrude
- O – Offset (similar to Inset Faces or Offset Edge Slide in Blender — quite interesting, considering Plasticity doesn’t operate with polygons or edges in the traditional sense)
- C – Cut (behavior depends on the current mode — object or surface)
- L – Loft (create a surface between selected objects)
- Alt + X – Mirror (works only in Object Mode; can mirror multiple objects at once and even relative to any selected face, not just world axes)
- Alt + J – Separate object into individual surfaces
- Shift + Backspace – Delete face/surface
- Hollow Solid – Add thickness to a solid object
- Thicken Sheet – Add thickness to a sheet object
- Rectangular Array – Clone object along one or two axes
- Radial Array – Clone object in a circular pattern (click to set rotation center)
- Revolve (for curves) – Create a surface by rotating a curve
Materials
- M – Assign or edit material on selected object
- Alt + M – Remove material from selected object