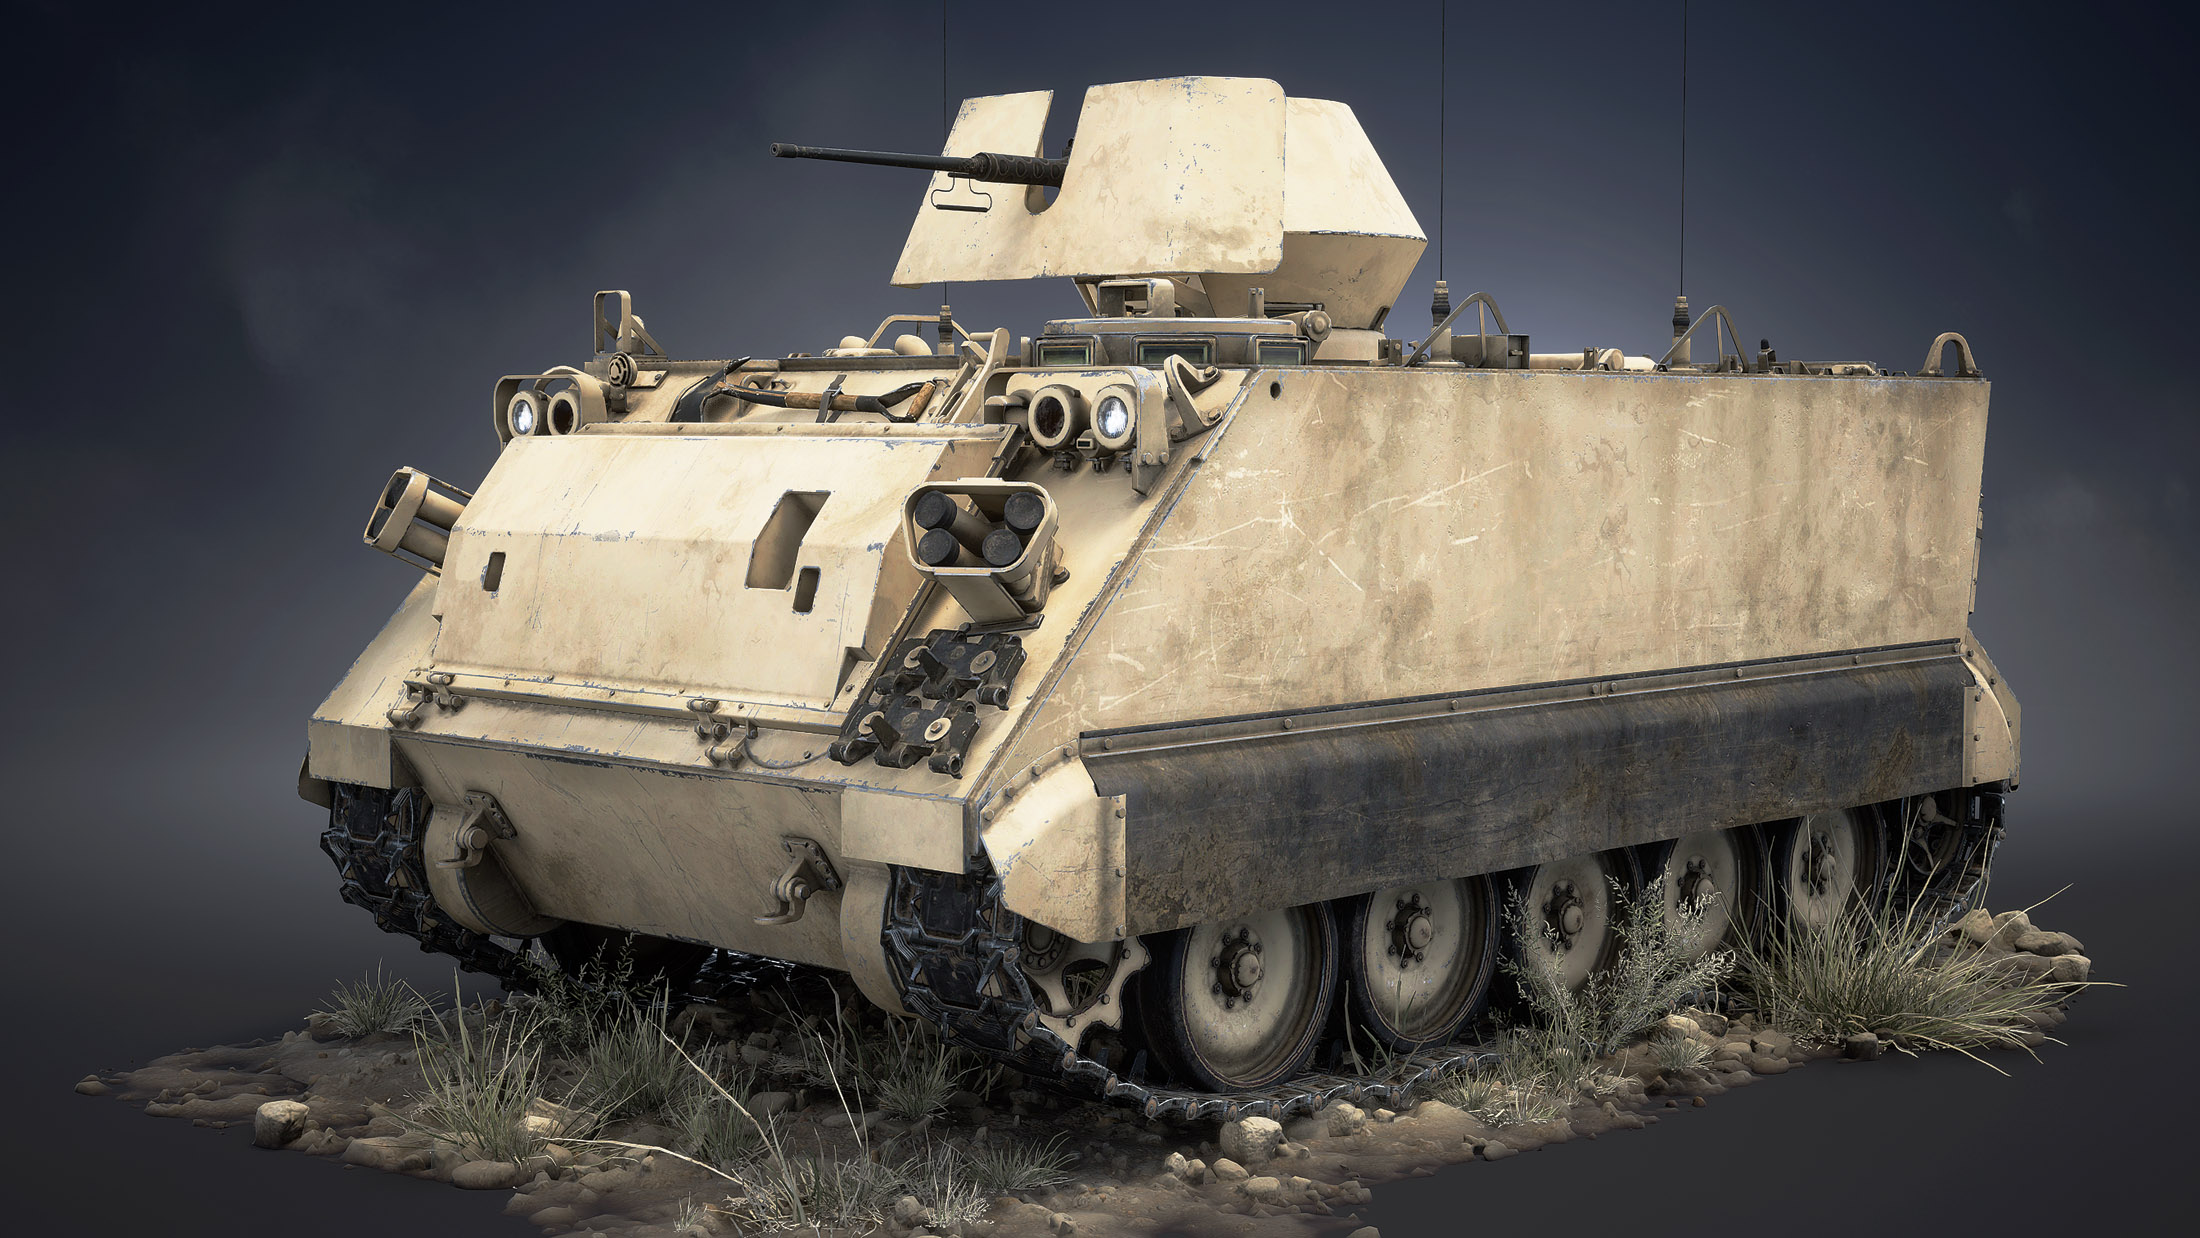
In this video, I talk about the main principles I follow when exporting a 3D model from Plasticity into a low-poly mesh.
At the time of recording, I hadn’t yet used the Blender Bridge feature.
This is actually my first model created entirely in Plasticity. But is it really possible to convert a detailed CAD model into a low-poly mesh? Yes — absolutely! Though, of course, there are both pros and cons. That’s exactly what I’ll cover in this video.
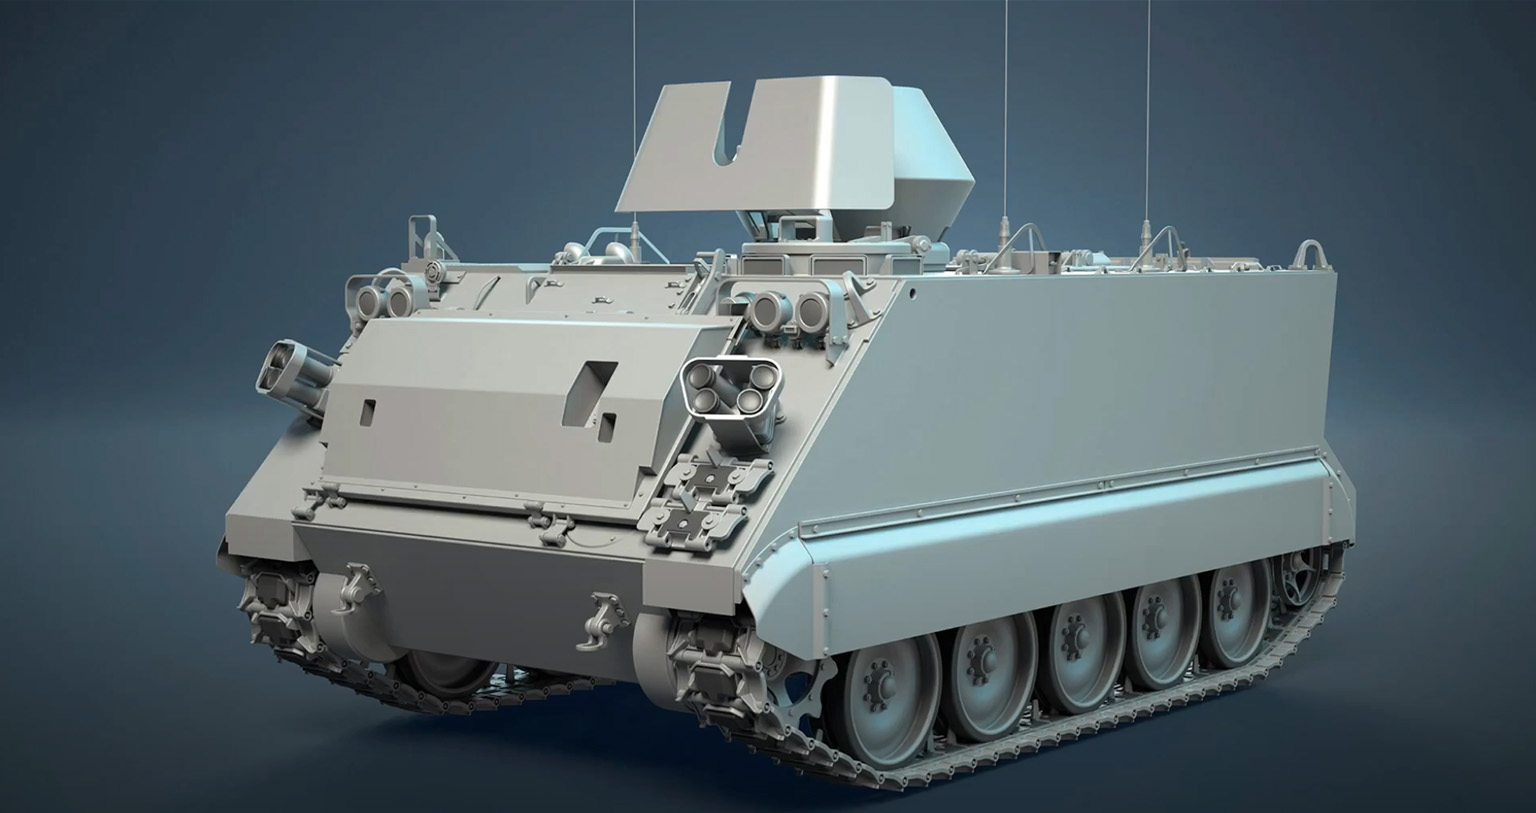
Before exporting to a low-poly format, you need to prepare the model. The main thing — don’t forget to make a copy of your file so you don’t accidentally ruin the original version.
The first step is to remove small fillets. The Remove All Fillets tool is really helpful here. Just select your object, run Remove All Fillets (I have it pinned to my Favorites), and then set the radius so that only small fillets are deleted.
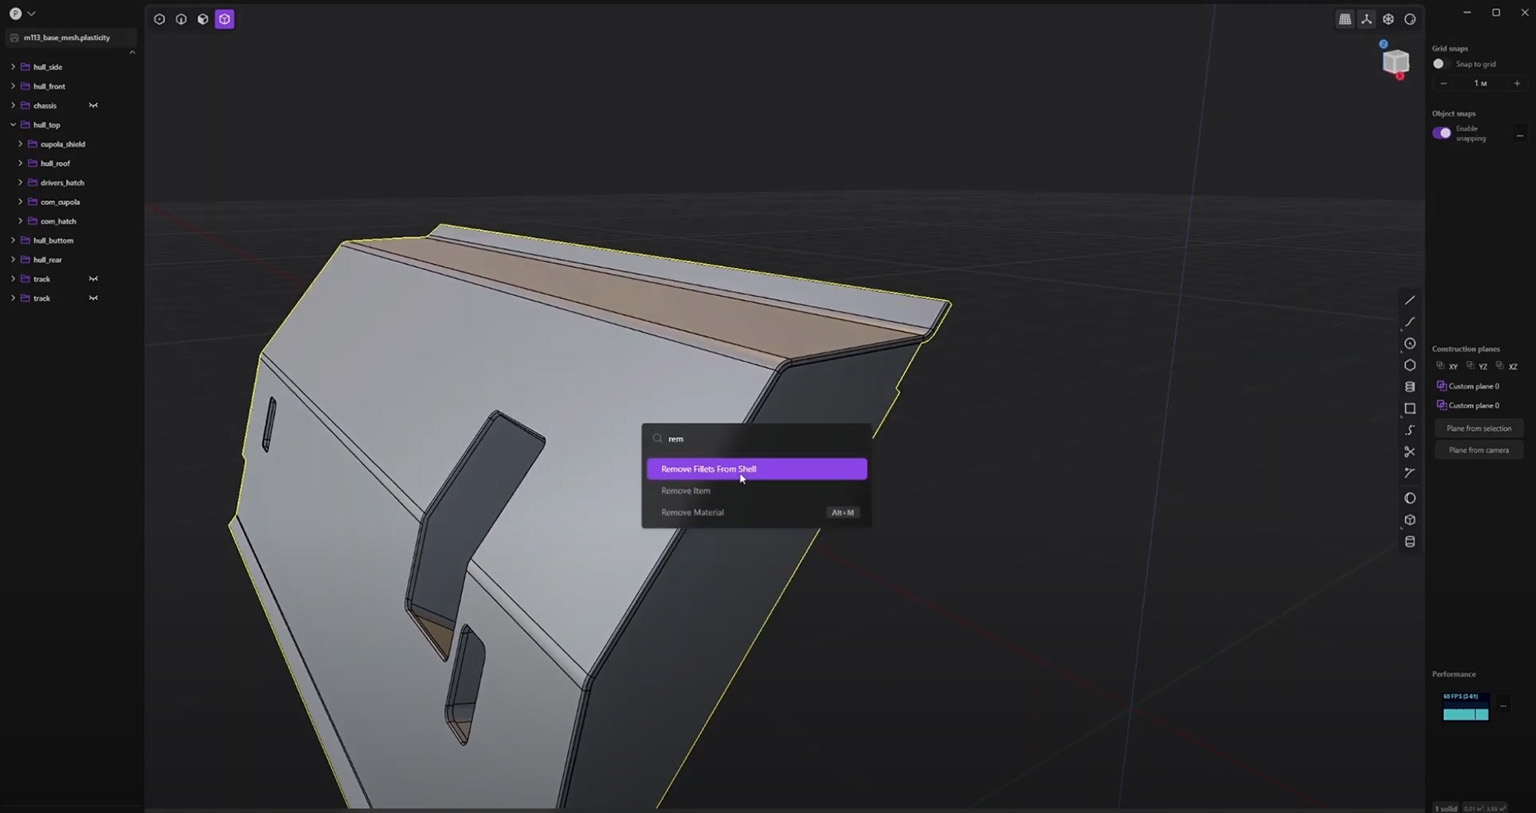
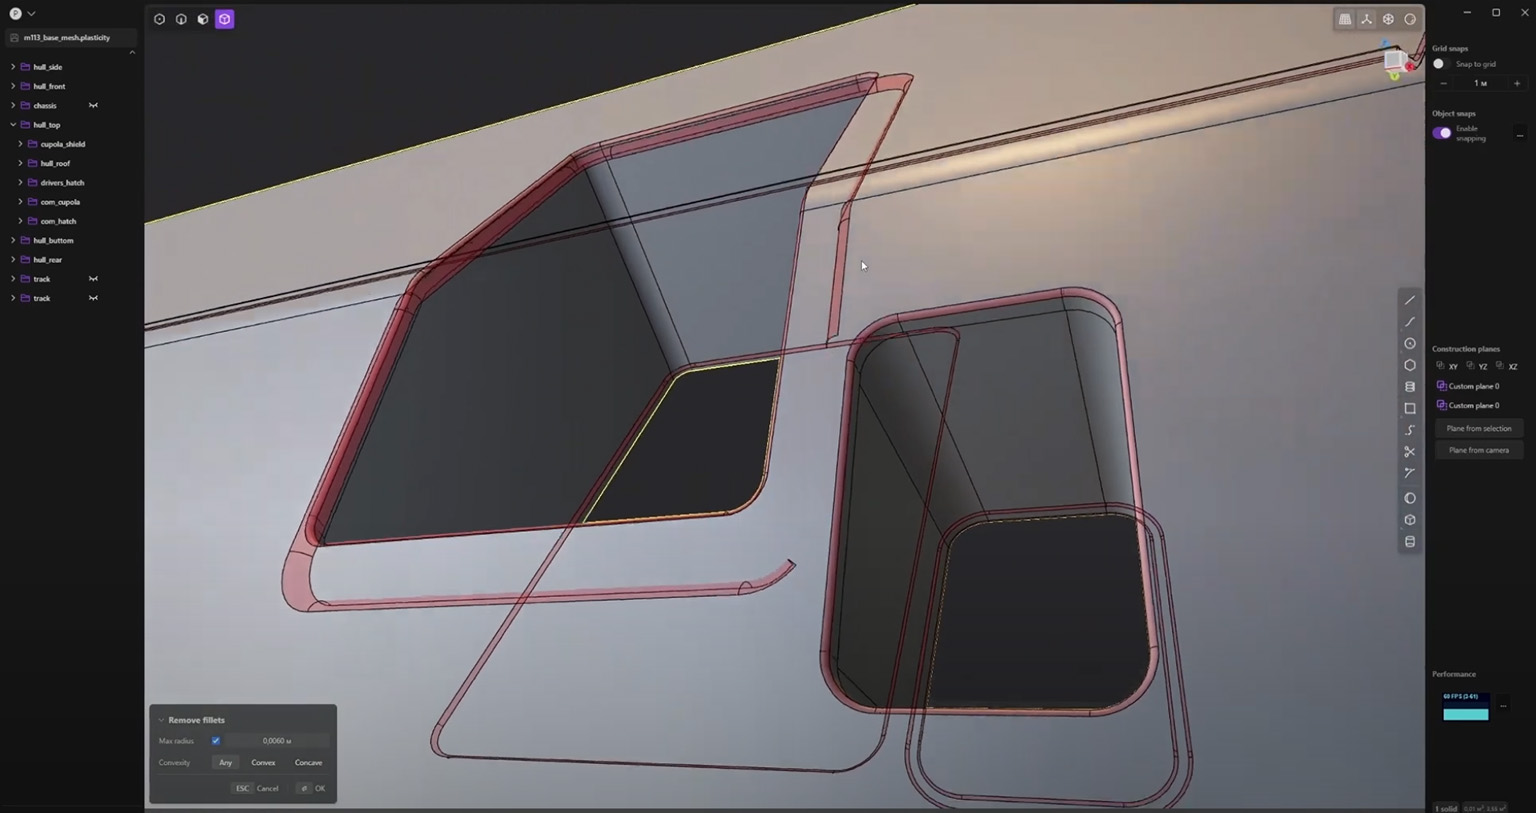
If your part is complex, or the fillets were made roughly and overlap each other, the Remove All Fillets tool may not work correctly — or at all. In that case, you’ll need to do it manually, deleting fillets in a specific order, since that affects the final result.
Keep in mind that this tool doesn’t remove chamfers. So I had to spend quite a bit of time cleaning those up manually, especially on all the bolts.
In future models, I’ll make the bolts and nuts with fillets instead — much easier to manage later.
During the optimization process, I went beyond just removing fillets. My goal was to minimize the amount of cleanup work in Blender. Specifically, I:
- Separated small parts and closed the holes that appeared after doing so.
- Removed unnecessary edges where possible.
- Deleted hidden faces that wouldn’t be visible anyway.
- Replaced some fillets with chamfers in certain areas.
- Completely rebuilt some details — for example, I replaced the engine bay grilles and reworked several other parts. It’s sort of a retopo directly inside Plasticity.
Once all the small details were done, I merged the armor plates of the hull into a single solid, so I wouldn’t have to deal with that later in Blender.
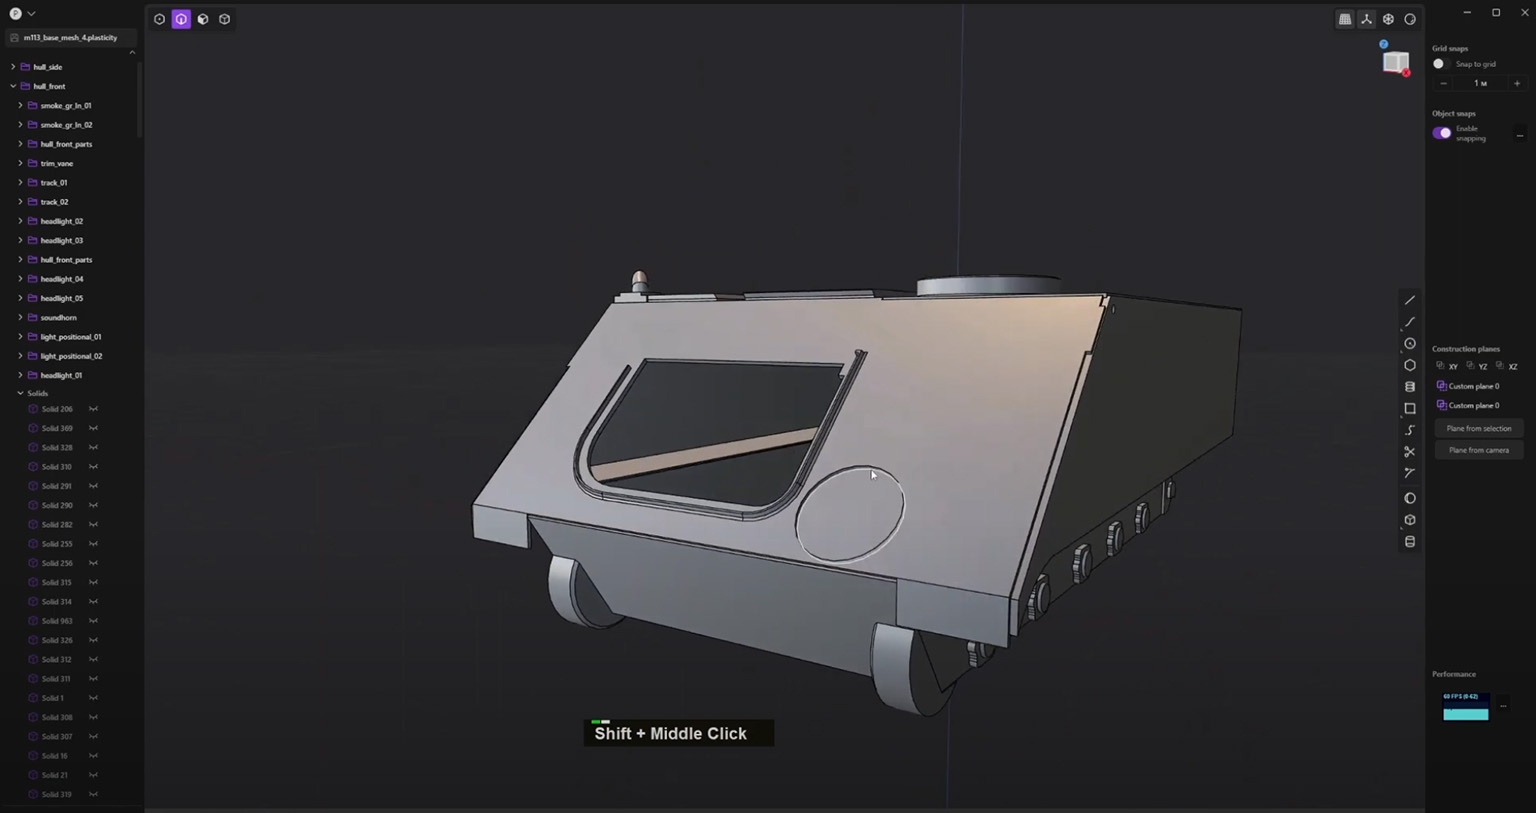
Once all the preparation is done, I move on to exporting the model into a low-poly mesh. From my experience, this step can’t really be done in one go — or at least I haven’t found a perfect way yet. On small parts, I need low detail, while on larger components, I want smooth, high-resolution surfaces. In theory, there are export parameters that can balance this, and they work nicely in simple tests (like with cylinders). However, when your scene has hundreds of objects of different sizes, keeping everything consistent becomes tricky.
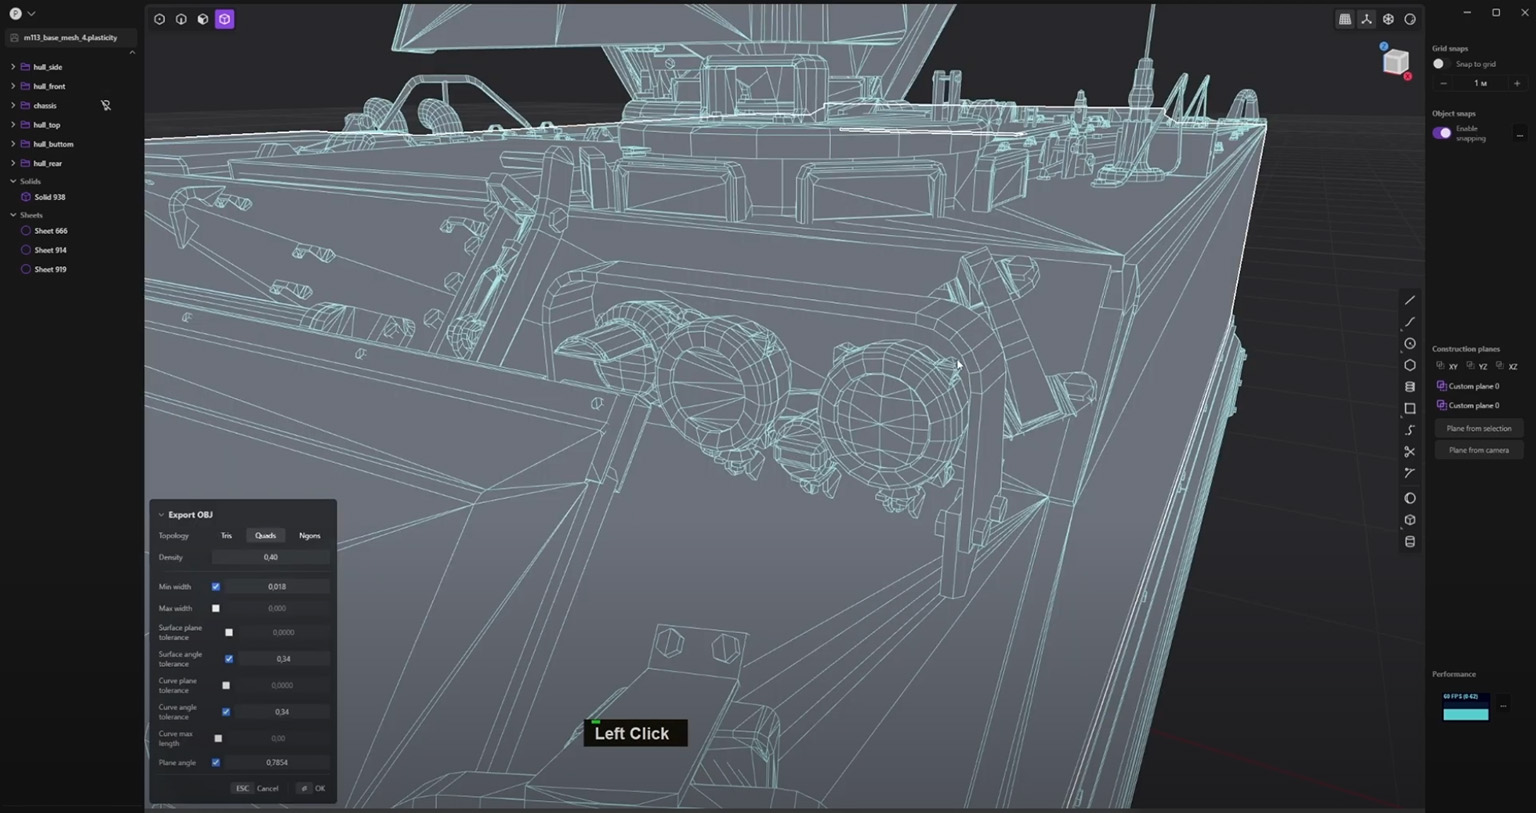
So, I picked some general export settings and exported the entire model. Then, while working in Blender, I re-exported individual parts as needed. For example, I didn’t like the topology and detail level of the turret shield, so I went back to Plasticity, tweaked the export settings for that part specifically, and re-exported it. Not perfect — but good enough to work with.
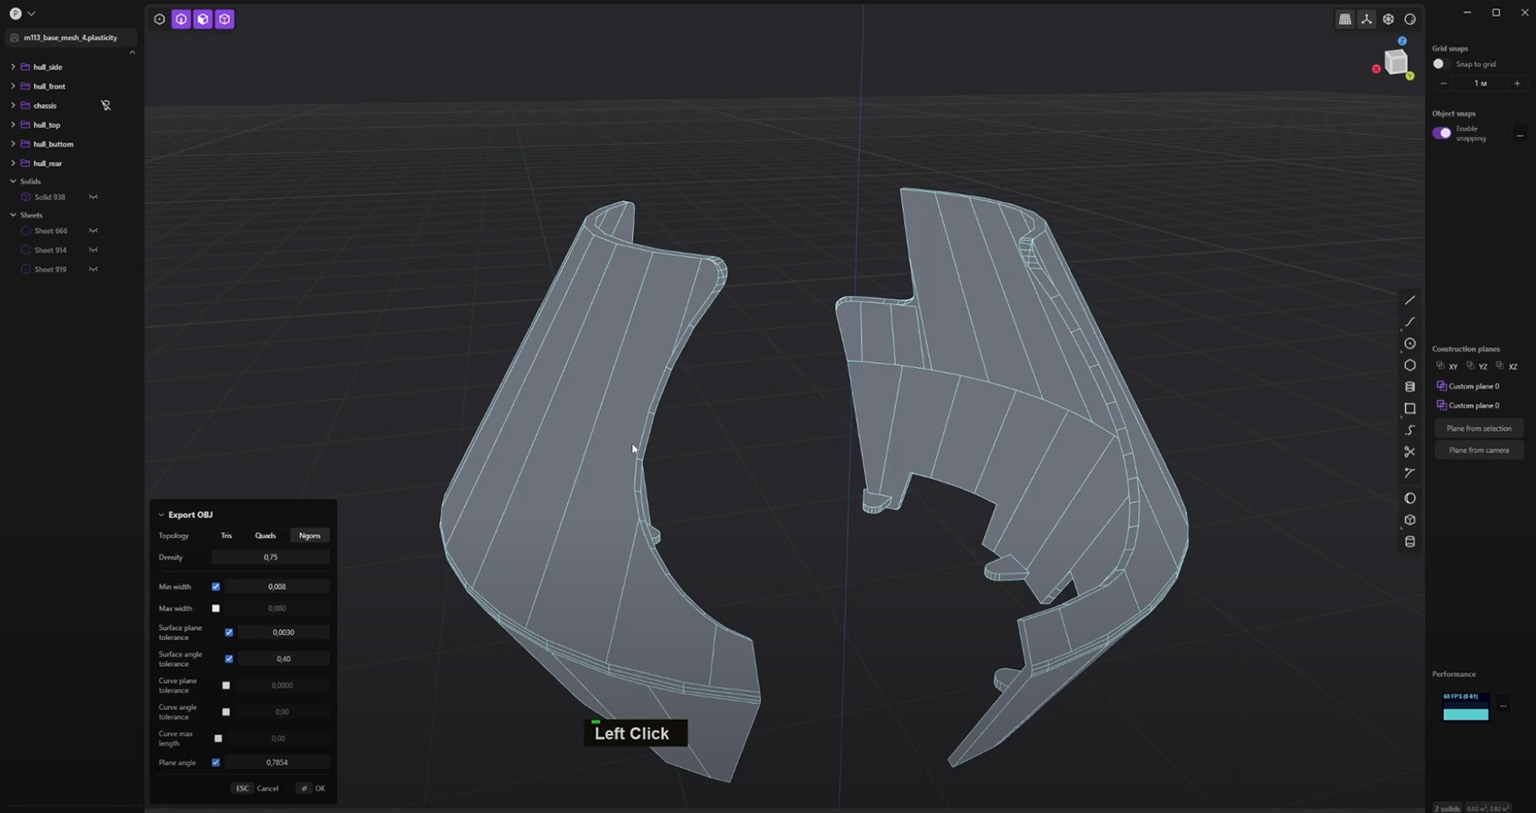
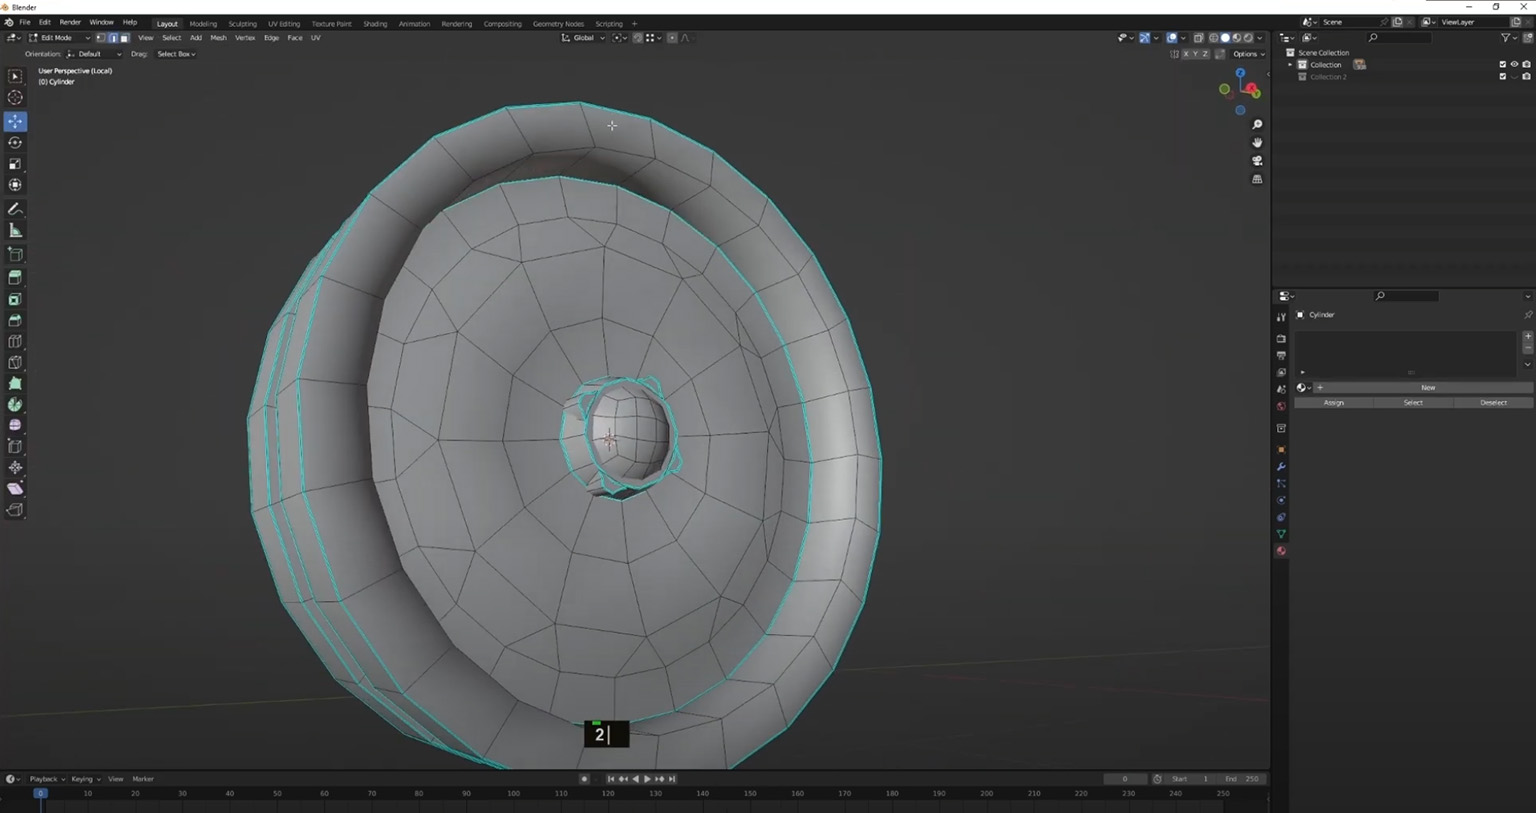
I did the same with many round components. Wheels, however, were a special case that required extra work. Exporting the idler wheel didn’t give the desired result, so to reduce the cleanup in Blender, I exported only a segment of the wheel. Then in Blender, I created a clean topology for that section and simply duplicated it around the circle.
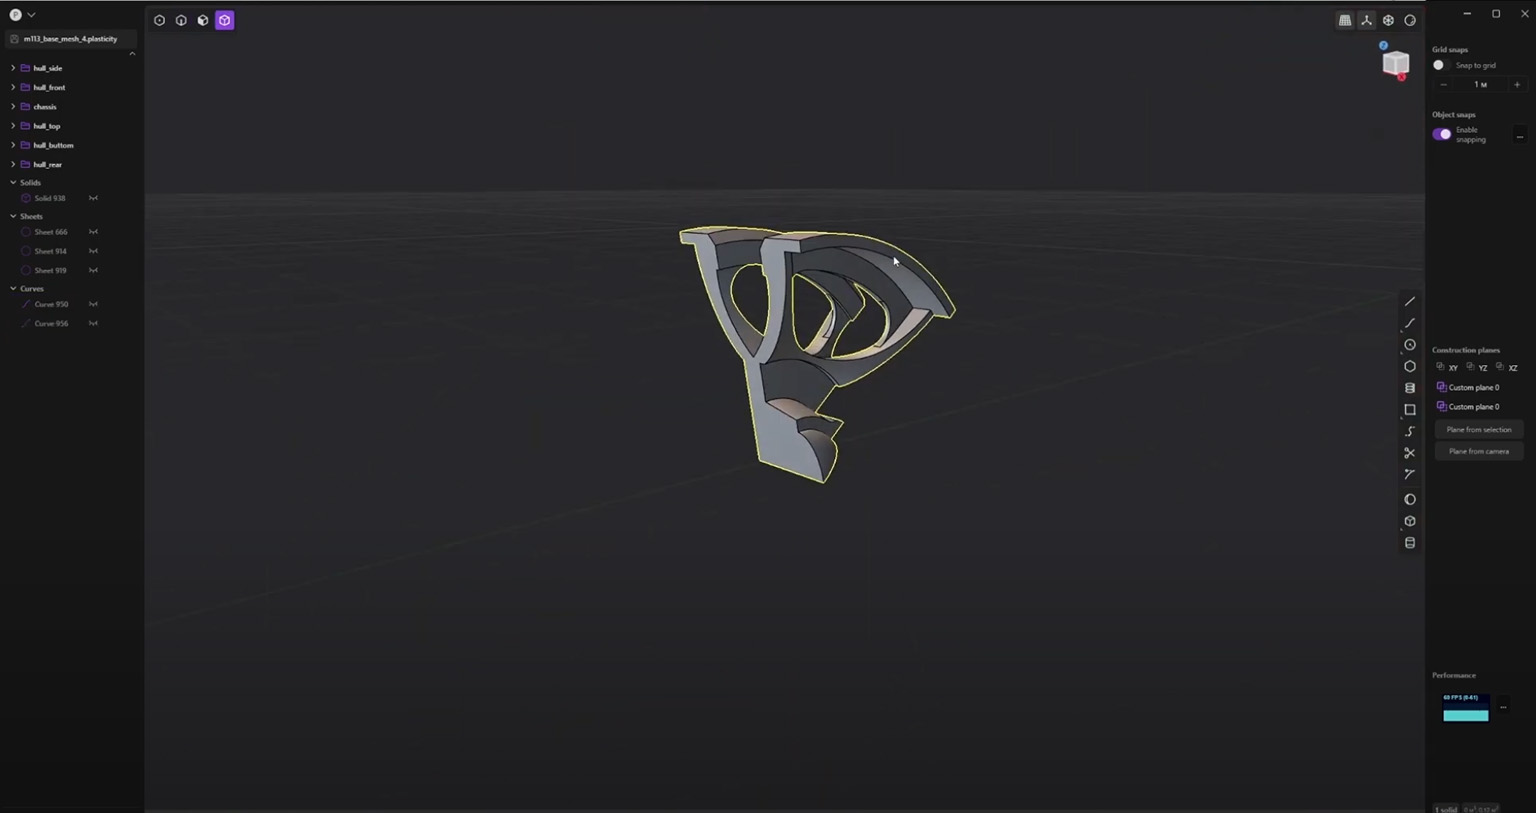
For small, complex details, it’s often easier to remake them from scratch in Blender. In future projects, I probably won’t waste time optimizing parts like headlights inside Plasticity — it’s just faster to model them directly in Blender. The same goes for road wheels — rebuilding them in Blender turned out to be much simpler.
This workflow, where I first create a detailed CAD model in Plasticity and then export it as a low-poly mesh, has both advantages and drawbacks.
Overall, I’m happy with the process. The main benefit is that I end up with a highly detailed source model, from which I can quickly generate different levels of detail (LODs) later on.However, if your goal is purely to make a low-poly model, it’s better to create only certain individual parts in CAD — for example, wheels, headlights, track links, and other distinctive mechanical components. These detailed CAD parts can then be used for baking, while the low-poly versions can be modeled directly with polygons.
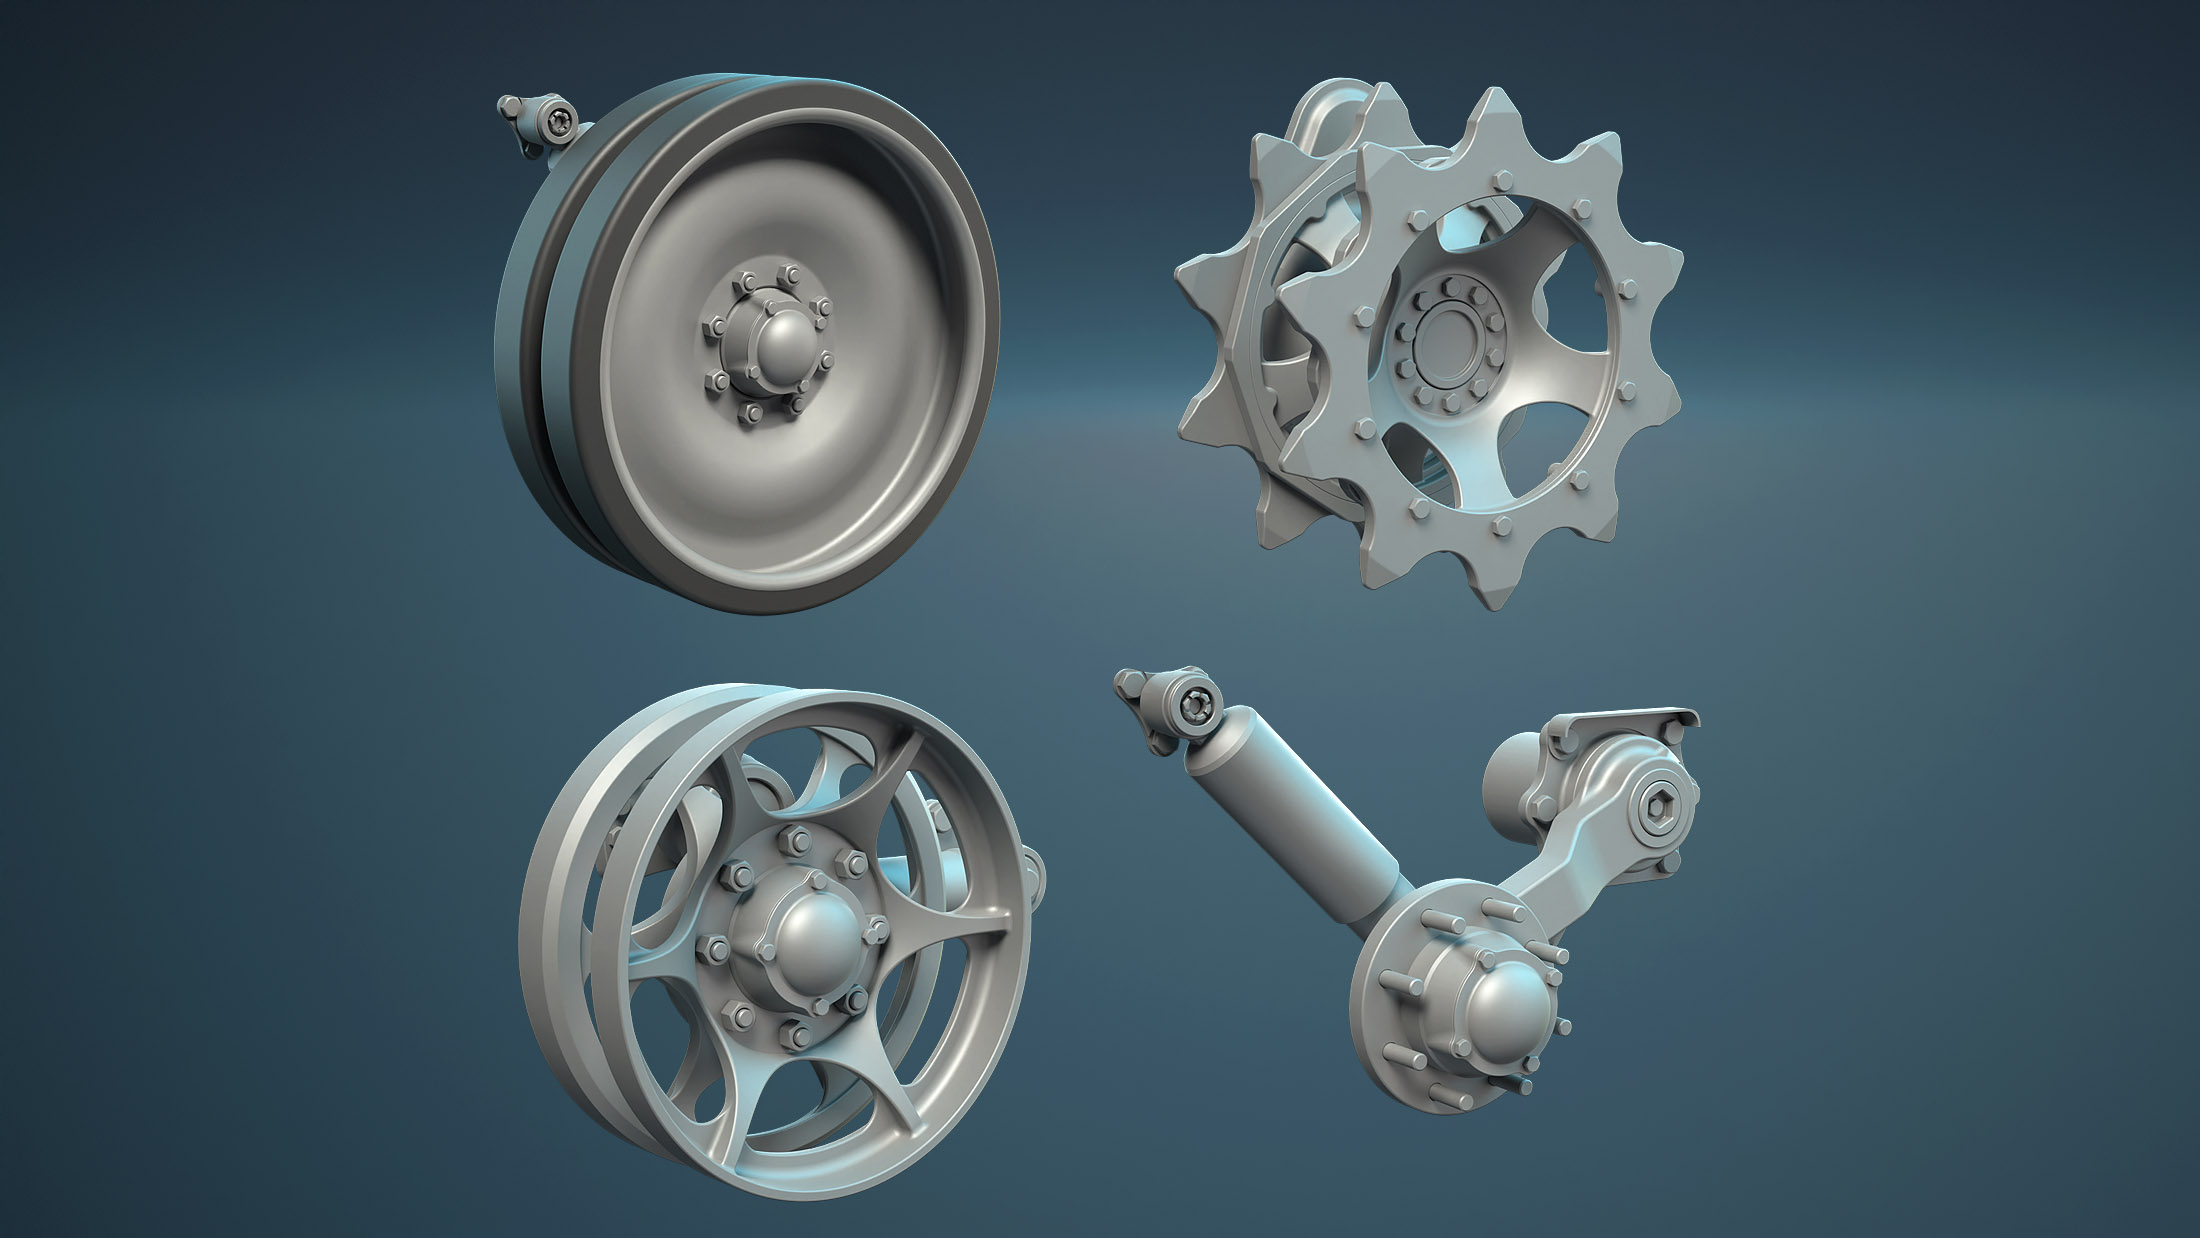
I’m sure that in the future, I’ll continue refining this workflow to make it as efficient as possible.