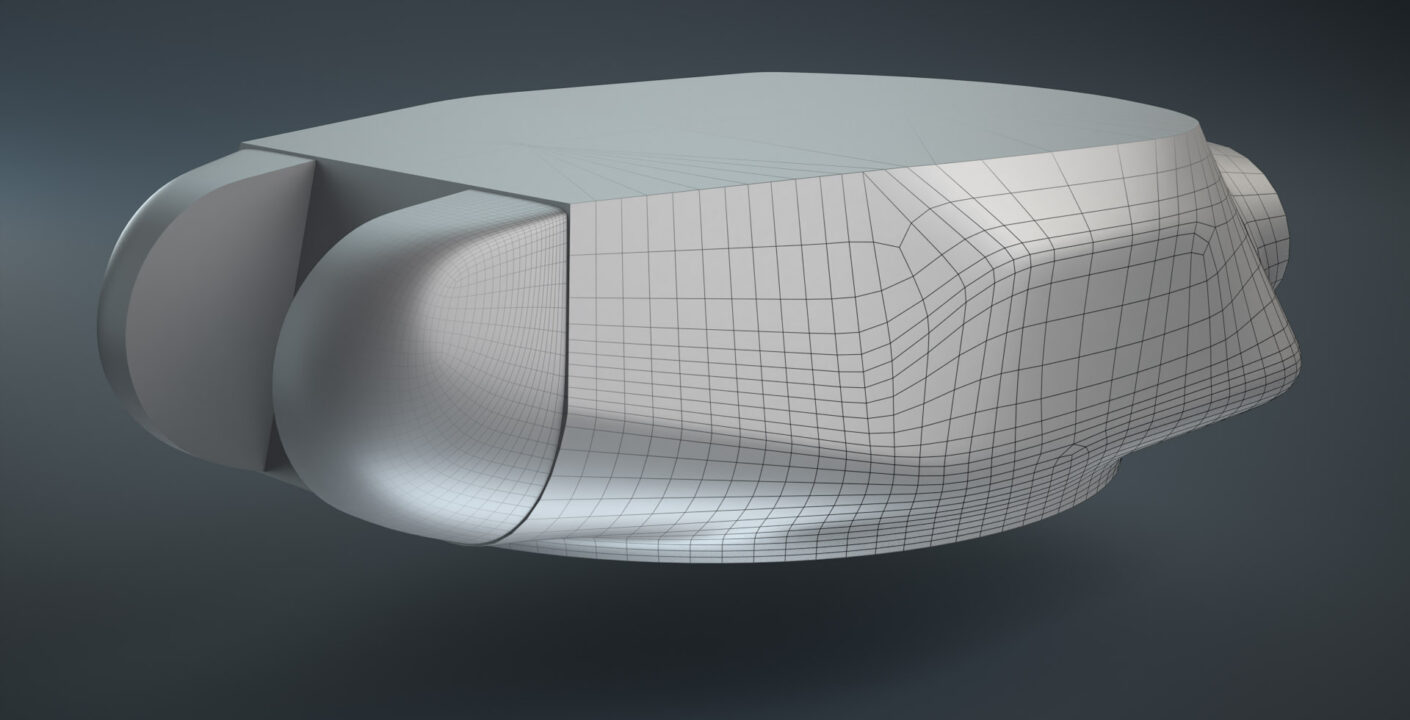
In this video, I show the process of creating a low-poly 3D model of the IS-2 tank turret.
The essence of this method is to create a base mesh, apply one iteration of Subdivision, and then optimize the topology. I do this to get clean geometry and an even mesh on curved surfaces.
- I create the base mesh. At this stage, I use the minimum number of polygons to build the basic geometry of the turret hull. I add all the necessary roundings and pay special attention to the flat surfaces. It’s important to keep the planes even. For this, I use the Create Orientation and Snap – Face Project functions.
- When the base shape and planes are ready, I place support loops for the subdivision. Here it’s crucial not to distort the planes and to add extra support loops (double loops) so the shapes don’t lose their form after subdivision. I save a copy of the object (this will later be the high-poly mesh for baking) and apply Subdivision.
- I optimize the mesh by removing unnecessary loops—those that do not affect the geometry. On rounded areas that influence the silhouette, I keep the number of edges unchanged—that’s the reason subdivision was applied in the first place.
I haven’t yet mastered working with NURBS surfaces in Plasticity, so this method of creating curved surfaces is currently the most efficient for me and allows me to get the desired result quickly.
The video was made as part of my trial course, where the student goes through the full pipeline of creating a game-ready 3D tank model. For mentorship or consultations in military vehicle 3D modeling, find me on my Discord-server
You can find IS-2 tank blueprints on my side project military-referenes.com