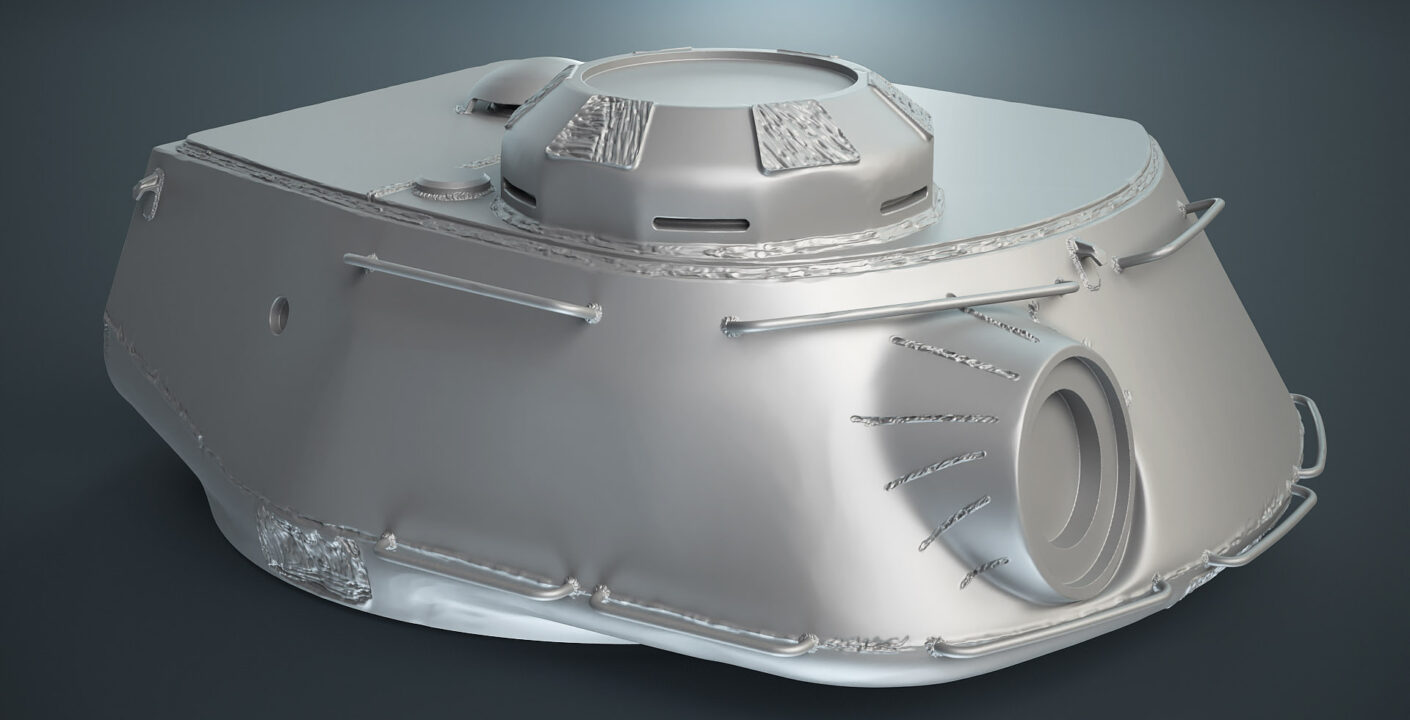
The video shows the process of creating a detailed model for baking a Normal Map. I’m not a professional sculptor, so I keep things fairly simple and work directly in Blender. The goal of this video is to demonstrate the general approach to creating such models.
This is another video I made as part of the IS-2 tank creation course. The 3D modeling course is currently in a testing phase, but it definitely won’t consist of dozens of hours of videos. Videos like this one are an exception, and I aim to show only specific moments that are difficult to describe with text alone.
The video has no voiceover, so I’ll outline the key points here.
Create a high-poly blockout. I combine different methods—from low-poly parts to geometry prepared for Subdivision using creases. The main goal is for the model to look good after Remesh.
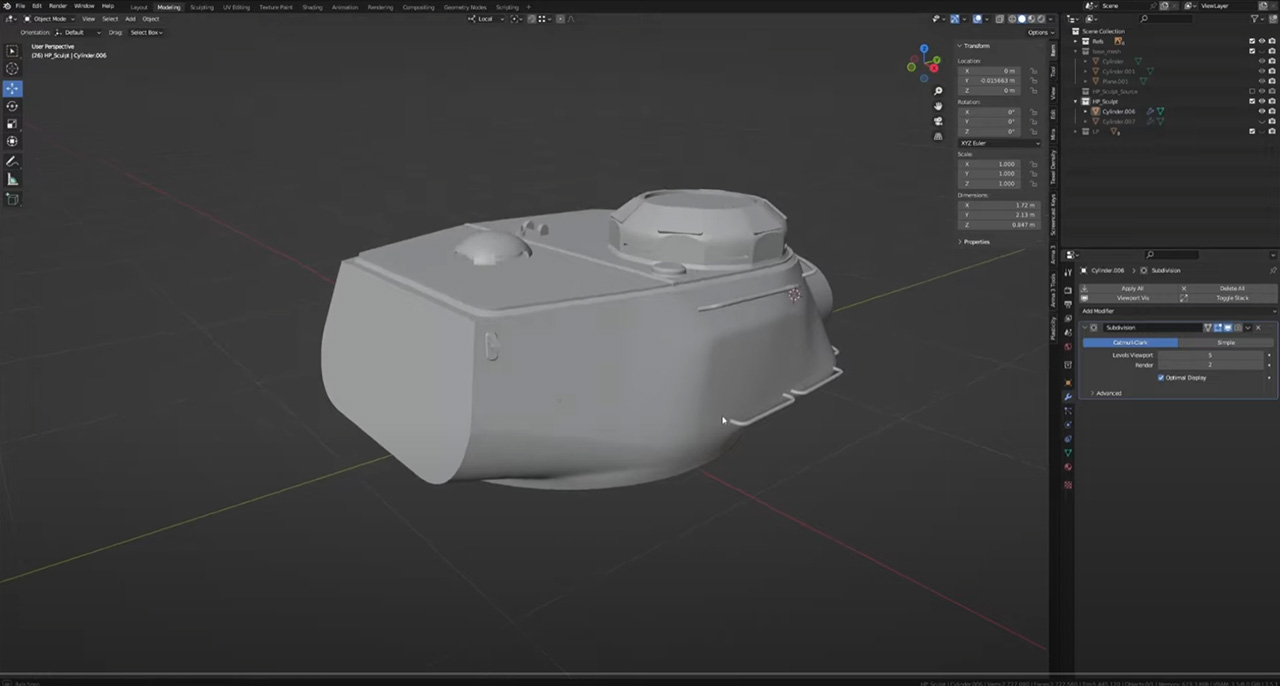
Before starting the sculpting process, it’s important to study references. For example, the main part of the IS-2 turret hull was cast by pouring molten metal into a mold (likely a sand mold). After casting, the turret retains marks from the mold seams (3D artists often recreate them as welding seams, which is incorrect), as well as cut-off areas where channels for the molten metal used to be.
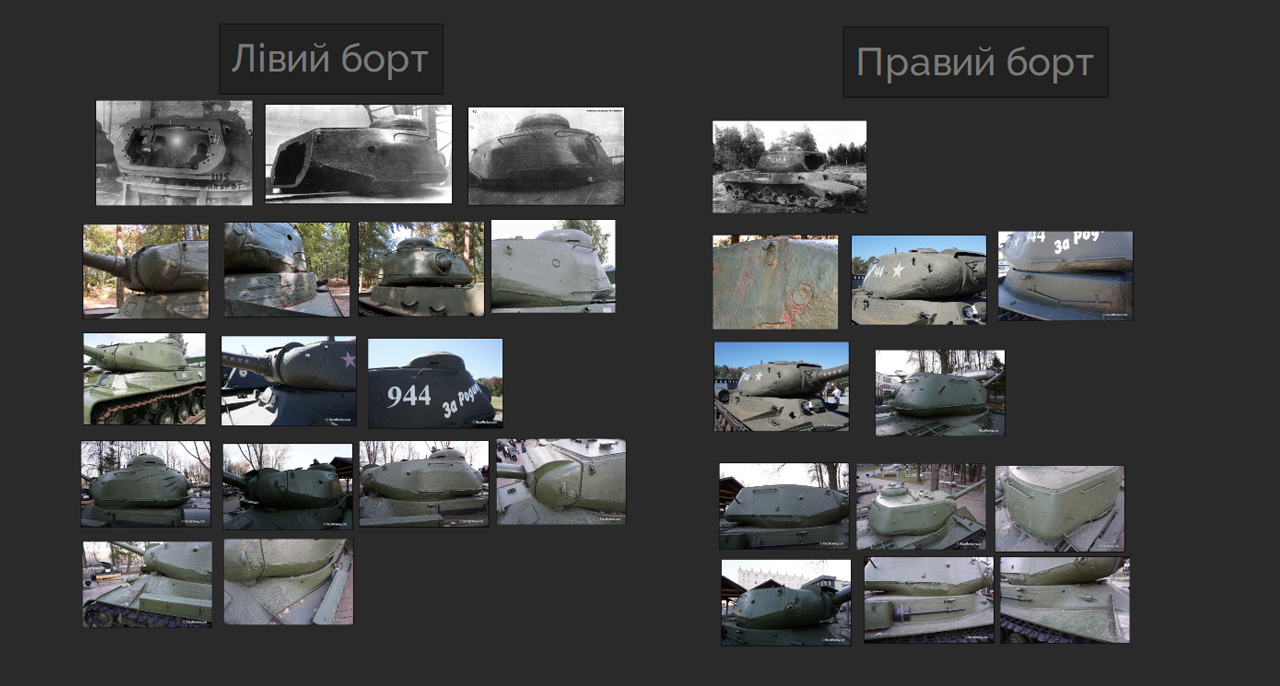
I do almost all the sculpting with basic tools. The only exception is a custom brush I use to create the main welding seams. Some seams I create using default brushes—the key thing is to preserve the characteristic look of welds according to the references.
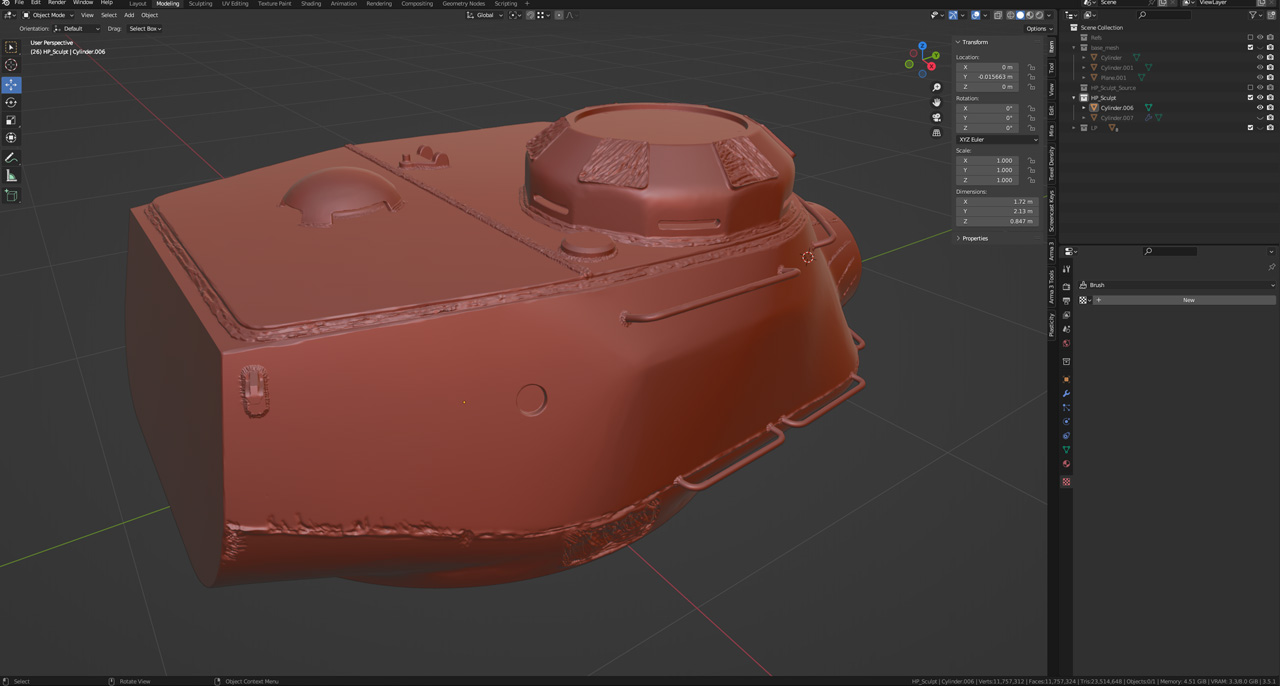
I don’t create fine metal texture on the sculpt. I’ll make it in Substance Painter.